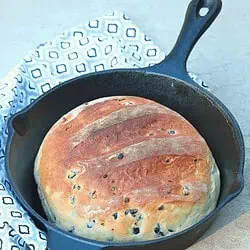
Moroccan Olive Bread - Vegan Olive Bread
Moroccan Olive bread, a Vegan Olive bread that is crusty on the outside and chewy on the inside, makes for a great sandwich bread.
When trying different cuisines, one of the first things that comes to my mind is what kind of bread they are using in the cuisine. Baking bread is something I love, and more than that, I love to eat freshly baked bread.

Thankfully, my entire family is the same way, and they can't wait to dig into freshly baked bread. When I was baking the Moroccan Olive Bread, my little one was not too happy as he is not a big fan of olives.
My older one, though, was very excited as lately he has started to love olives. He has tasted them only on pizzas until now, and he could not wait to try them as bread.
Once the baked bread was in front of them, it did not matter what was in it. They just needed a big glob of butter, and it disappeared right away.

After making a few slices to taste, I carefully wrapped the rest of the bread to use for dinner along with Pasta Salad. The bread itself is very simple to make. Be careful when adding salt to the dough, as the olives are salty.
I used only about a teaspoon of salt in my dough. Use good-quality olives to bring out the best flavor. This bread could be baked as individual rolls or as a baguette.
I also experimented a bit and baked the Moroccan Olive Bread with steam. I love baking with steam as it helps in baking a very crusty bread with a chewy interior. The first time I used the steam baking technique was when I baked the French Baguettes.
I remember being very anxious when I first used the technique. The next bread that I baked with steam was the Obi Non / Uzbek Vegan Flatbread. It had a great texture, and I fell in love with the bread.
After yesterday's quick and easy dessert, the Moroccan Stuffed dates, here I have a simple Moroccan bread with olives. Enjoy this Vegan bread for breakfast or as a sandwich.
Ingredients to make Moroccan Olive Bread -
- All Purpose Flour - 3 to 3 ½ cups
- Active dry yeast - 1 tbsp
- Sugar - 1 tsp
- Salt - 1 tsp
- Warm water - 1 ½ cups
- Black olives - about 1 cup (chopped)
- Olive oil - 3 tbsp
- Dried Thyme - 1 tsp
Procedure to make Moroccan Olive Bread -
To make the dough -
- I used my Stand mixer to make the dough. In the bowl of the mixer or a large bowl, add about ½ cup of warm water and add the sugar and yeast in it. Mix it well and leave it to proof for about 10 minutes. You will notice that the mixture is bubbly and frothy by the end of 10 minutes. If the mixture is not bubbly, then the yeast is not active, and the mixture needs to be discarded. Start with a new batch of yeast.
- Add about 2 ½ cups of flour, salt, thyme, olive oil, and the remaining water, and knead the dough. The dough will be very sticky.
- Add the chopped olives and mix them very well to incorporate evenly. The dough will still be sticky at this stage. Cover the dough and let it rise in a warm place until doubled in volume. It took me about 45 minutes.
- Once the dough has risen, add the remaining flour little by little and knead until you get a soft and smooth dough. It should not be sticky anymore. Make sure that the dough is still soft.

- Transfer the dough to the work surface and form a taut ball.
- Prepare your Dutch oven or a cast-iron pan by lining it with parchment paper. Place the dough on the prepared pan.
- Using a sharp knife, make a few slits on the surface of the dough, cover it with a kitchen towel, and let it rise until doubled in volume. It took me about 45 minutes.

Baking the Olive Bread -
- When the dough is rising for the second time, preheat the oven to 425°F.
- At the end of the rising time, boil about 6 cups of water on the stovetop. Fill a baking tray with the boiling water and place it on the bottom rack of the oven.
- Once the dough has risen, place it on the center rack and close the oven door. The water underneath will provide the steam when the bread is baking and this allows for a wonderful crusty bread and chewy interior.
- Once the bread is baking, do not be tempted to open the oven too often. The steam will escape when you open the oven, and the effect will not be the same.
- By about 20 minutes, keep an eye on the bread. If you notice that the top of the bread is browning too quickly, tent the pan with aluminum foil and continue baking.
- Once the olive bread is uniformly brown and sounds hollow when tapped, remove it from the oven and let it cool on the rack.
- Slice the Moroccan bread and enjoy it as is or as a sandwich.
- The olive bread could also be baked without the steam. I loved the crusty bread and hence used steam when baking.

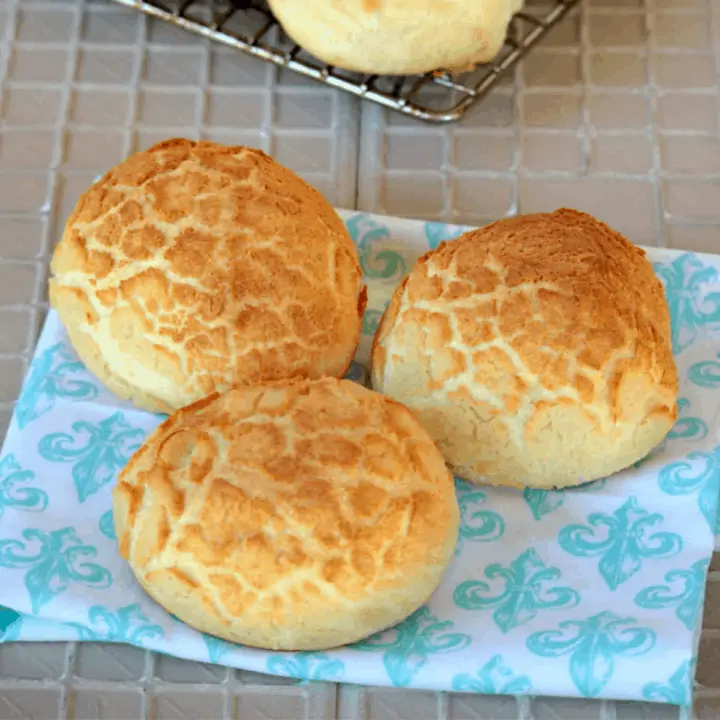
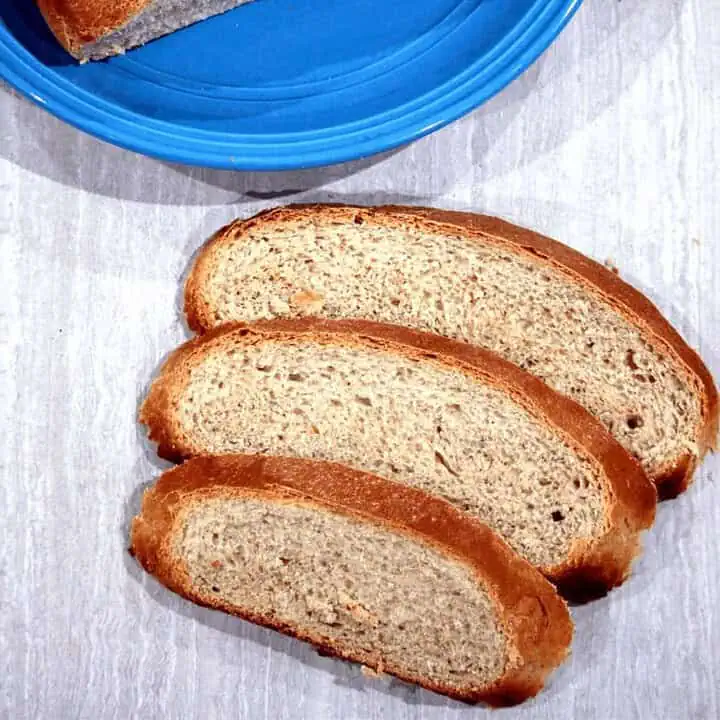
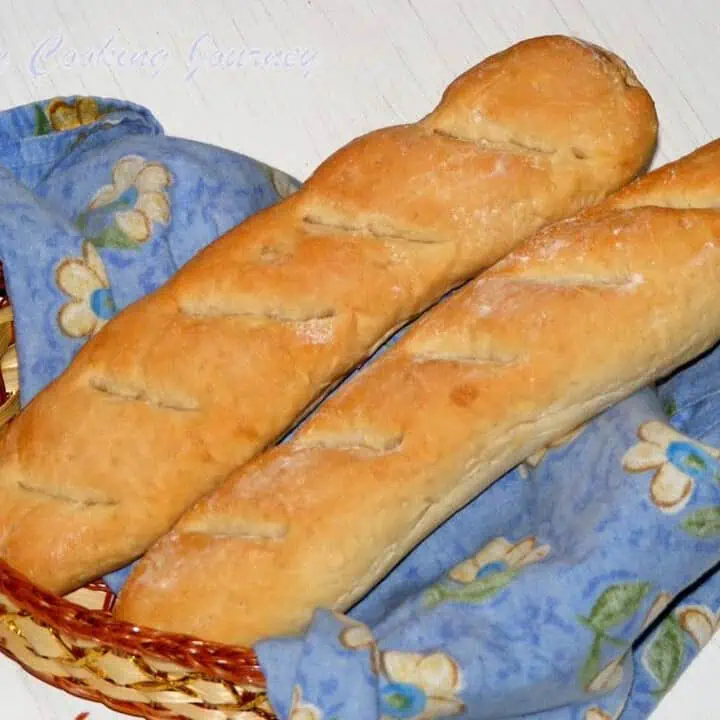
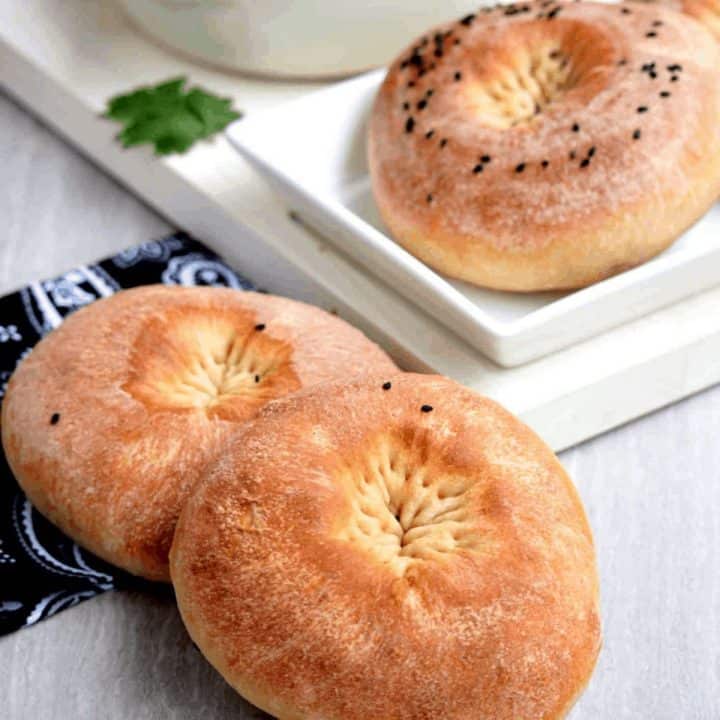
More Similar Bread Recipes
If you made this recipe and liked it, give a star rating on the recipe card or let me know in the comments below. You could also share it with me on Instagram using #MyCookingJourney and tagging me @sandhya.ramakrishnan. You could follow me and my recipes on Facebook |Instagram | Pinterest | Twitter/X
Recipe
Moroccan Olive Bread - Vegan Olive Bread
Equipment
- pan
- bowl
- spatula
Ingredients
- 3-3 ½ cups All Purpose Flour
- 1 tablespoon Active dry yeast
- 1 teaspoon Sugar
- 1 teaspoon Salt
- 1 ½ cups Warm water
- 1 cup Black olives chopped
- 3 tablespoon Olive oil
- 1 teaspoon Dried Thyme
Instructions
To make the dough -
- I used my Stand mixer to make the dough. In the bowl of the mixer or a large bowl, add about ½ cup of warm water and add the sugar and yeast in it. Mix it well and leave it to proof for about 10 minutes. You will notice that the mixture is bubbly and frothy by the end of 10 minutes. If the mixture is not bubbly, then the yeast is not active and the mixture needs to be discarded. Start with a new batch of yeast.
- Add about 2 ½ cups of flour, salt, thyme, olive oil and the remaining water and knead the dough. The dough will be very sticky.
- Add the chopped olives and mix it very well to incorporate the olives evenly. The dough will still be sticky at this stage. Cover the dough and let it rise in a warm place until doubled in volume. It took me about 45 minutes.
- Once the dough has risen, add the remaining flour little by little and knead until you get a soft and smooth dough. It should not be sticky anymore. Make sure that the dough is still soft.
- Transfer the dough to the work surface and form a taut ball.
- Prepare your dutch oven or a cast iron pan by lining it with parchment paper. Place the dough on the prepared pan.
- Using a sharp knife, make few slits on the surface of the dough, cover it with a kitchen towel and let it rise until doubled in volume. It took me about 45 minutes.
Baking the Bread -
- When the dough is rising for the second time, preheat the oven to 425 F.
- At the end of the rising time, boil about 6 cups of water on stove top. Fill a baking tray with the boiling water and place it on the bottom rack of the oven.
- Once the dough has risen, place it on the center rack and close the oven door. The water underneath will be providing the steam when the bread is baking and this allows for a wonderful crusty bread and chewy interior.
- Once the bread is baking, so not be tempted to open the oven too often. The steam will escape when you open the oven and the affect will not be the same.
- By about 20 minutes, keep an eye on the bread. If you notice that the top of the bread is browning too quickly, tent the pan with a aluminum foil and continue baking.
- Once the bread is uniformly brown and sounds hollow when tapped, remove it from the oven and let it cool on rack.
- Slice the bread and enjoy it as is or as a sandwich.
- The bread could also be baked without the steam. I loved the crusty bread and hence used steam when baking

Brilliant easy recipe and delicious bread. Thank you for sharing 😊
Thanks Paul! Glad you liked it.
Hi Sandhya this one looks good. Could I use my cake tin instead of the cast iron one? I don't have that and am a beginner at baking. 🙁
What a lovely olive Bread that is Sandhya. I’ve never tried baking bread with olives — will have to try it some time.
I love the flavor of cast iron - must have been tasting so good
Fantastic ! I am getting the aroma of freshly baked bread right here ! The bread has such a beautiful texture and the olives must have made it so very flavourful .
The texture of the bread looks amazing. I love the cast iron pan as well.
Wow.. perfectly done..
Even i bookmarked this olive bread, since i have no takers of olives here, i skipped baking this bread. You are tempting me with those bread slices.
Bread looks amazing and beautifully baked. Brown bread crust with specks of olives is quite appealing to the eye! Delicious!
Wow Sandhya, the bread looks so stunning!..what a lovely crust..must have surely been so delicious!