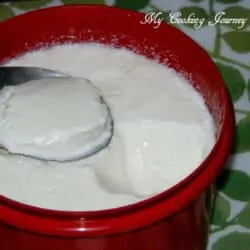
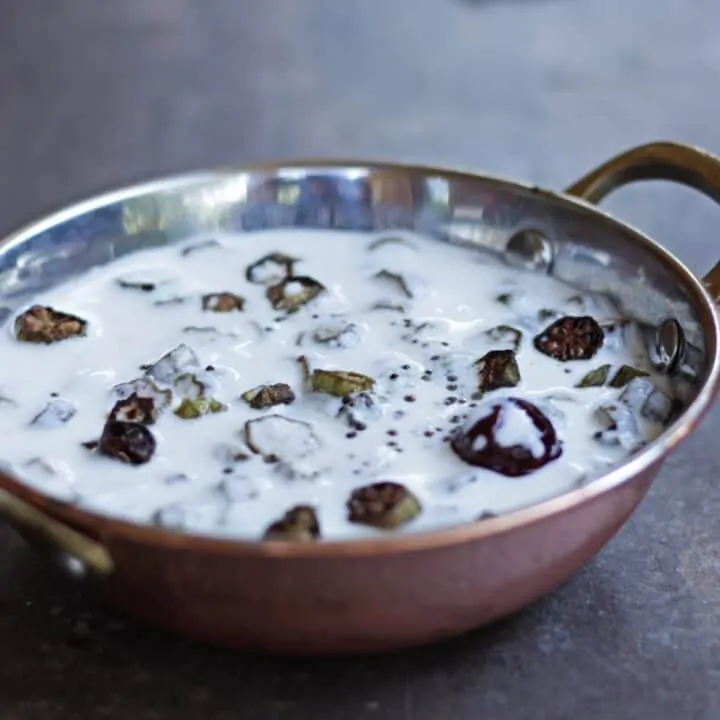
Homemade Yogurt / Curd / Dahi / Thayir
Making homemade yogurt is very economical and free of a lot of preservatives. This Dahi is easy to make, and there are a lot of dishes that use this Curd. One of our favorites is Raita and Thayir Sadam.
Making homemade yogurt is very economical and free of a lot of preservatives, and needless to say, very tasty too. I have always had homemade yogurt when growing up, and the ease of finding yogurt in the stores once I moved to the US made me want to try it.

I do buy the Dahi every now and then if I run short of my homemade supply, but I was never able to develop a liking for it.
The texture of the Curd is the first thing that keeps me away, though now I somewhat like the Greek yogurt; economically, it is just not friendly.
We use a lot of curd/yogurt at home. The rule in our house is that anything tastes better with yogurt. So my kids would usually gobble up any food if served with yogurt.
This makes it very easy for me to make them try out new food. Also being a South Indian, thayir saadham/thachi mammam is a must. I end up making about 1 liter of Thayir each night.

I use the Indian store yogurt as a starter, or Greek yogurt works well. All that is needed to have a good yogurt is an active culture, boiled milk cooled down to the right temperature, and a warm place in the house to place the thayir to set.
The kind of milk used decides the thickness of the yogurt. If using full-fat milk, the yogurt will be thicker when compared to using fat-free milk.
I used to make Dahi from full-fat milk for my boys (when they were babies and toddlers) and 2 % for us. Now I just use 2 % milk to make yogurt for the whole family. I also occasionally use 1 % milk to make yogurt (because that is what we use for our coffee), and the end result is not too bad.
Once we start making our own homemade Curd, we can use that as a culture for the next batch. Most probably, the culture from the previous batch remains active for quite some time, but sometimes, for whatever reason, the culture might lose its viability.
In that case, we might have to start it from a new culture. I also noticed that prolonged usage of the same batch sometimes causes stringy Curd. In that case, again, I usually change my beginning culture.

I usually boil the milk on the stovetop and then cool it down. Use Tupperware containers to set the yogurt in because of the convenience of having a tight-fitting lid/cover for it.
I cool down the milk to the desired temperature and then pour it into a Tupperware container that has the culture/starter in it. If boiling the milk in the microwave, I suggest using Pyrex containers with fitted lids for comfort.
This is my recipe for the kitchen basics - day 2!
Preparation time - 5 minutes
Cooking time - 15 minutes
Setting time - 6 hours
Difficulty level - easy
Ingredients to make Homemade Yogurt - (makes 1 liter)
- Milk - 1 liter (fat content of your choice)
- Active culture/starter - 2-3 tbsp
- Container with a fitted lid
- A warm spot to leave the yogurt to set undisturbed

Procedure to make Curd-
- Heat the milk and bring it up to a boil over the stovetop or in the microwave. Let the milk come up to a boil and then turn off the flame.

- Now let the milk cool down to about 110°F. Do I use a thermometer every time I make yogurt? Absolutely not. I usually use my fingers to check the temperature. The milk should be just at the temperature when you can comfortably keep your fingers inside for about 10 seconds. For beginners, though, using the thermometer for the first few times will be a good idea. Again, by practice and experience, one could find the right temperature that works for them.
- In the container, in which you are going to set your yogurt, which in my case is my Tupperware, add the culture/starter. The amount of starter again depends on the kind of climate you live in. If living in a colder climate region, I would suggest using more culture when compared to people living in a warm, humid climate. I use about 2 tablespoons to make my yogurt. If you are using the same container to set the yogurt, wait till the milk comes to the right temperature, and then add the culture directly into the milk and mix well. In my case, I add the cooled-down milk into the Tupperware, which has the starter in it.

- Now cover the container and place it in a warm place overnight or 6-12 hours, depending on where you live. In colder temperatures, it will take longer for the yogurt to set, whereas in a warm, humid place, the yogurt would set in about 4-6 hours.
- Refrigerate the Curd right after it sets, or if you like a tangy flavor, leave it out for a couple of more hours to make it tangy. Also, the Dahi becomes thicker once refrigerated. So I would recommend that you refrigerate the thayir for at least a couple of hours before serving.

- If you prefer thick and creamy homemade yogurt, then strain the set Dahi through a muslin cloth and then use it.

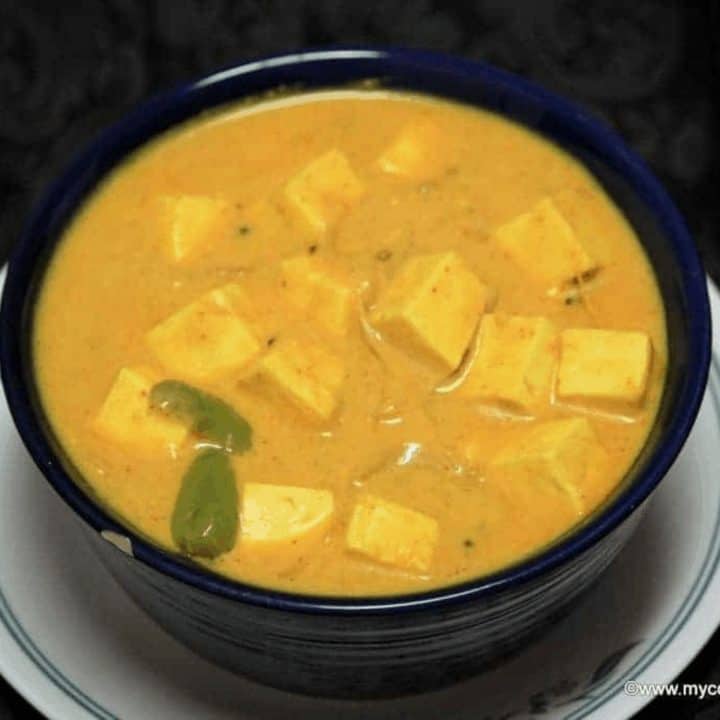
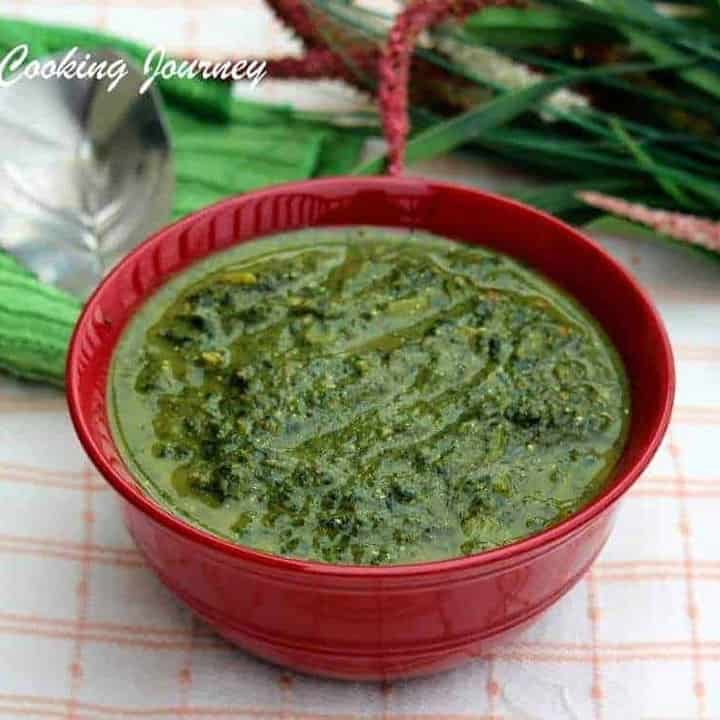
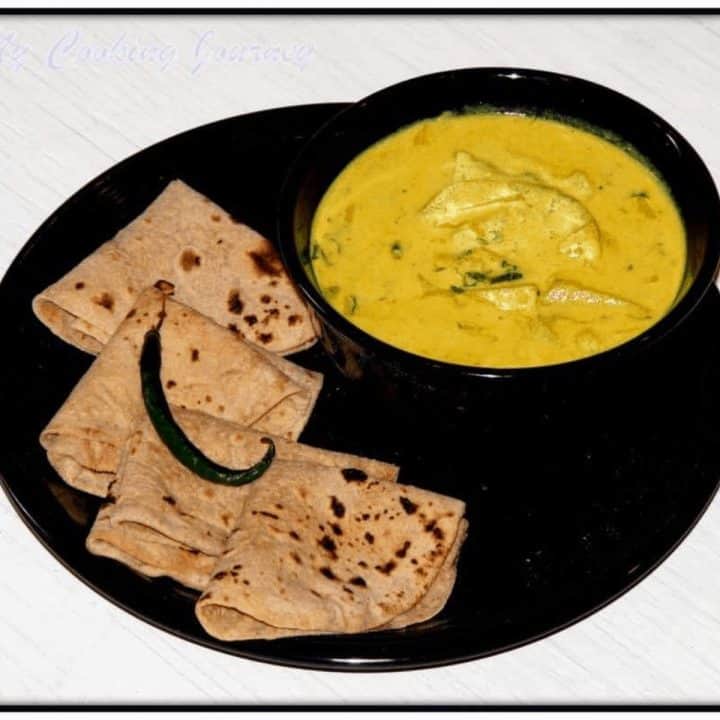
Yogurt-Based Recipes

If you made this recipe and liked it, give a star rating on the recipe card or let me know in the comments below. You could also share it with me on Instagram using #MyCookingJourney and tagging me @sandhya.ramakrishnan. You could follow me and my recipes on Facebook |Instagram | Pinterest | Twitter/X
Recipe
Homemade Yogurt / Curd / Dahi / Thayir
Equipment
- pan
- Container
Ingredients
- 1 liter Milk Fat content of your choice
- 2 tbsp. Active culture/starter
- Container with fitted lid
- Warm spot to leave the yogurt to set undisturbed
Instructions
- Heat the milk and bring it up to a boil over the stovetop or in the microwave. Let the milk come up to a boil and then turn off the flame.
- Now let the milk cool down to about 110 F. Do I use a thermometer every time I make yogurt, absolutely not. I usually use my fingers to check for the temperature. The milk should be just in the temperature when you can comfortably keep your fingers inside for about 10 seconds. For beginners though using the thermometer for the first few times will be a good idea. Again, by practice and experience, one could find the right temperature that works for them.
- In the container, in which you are going to set your yogurt, which in my case is my Tupperware, add the culture/starter. The amount of starter again depends on the kind of climate you live in. If living in a colder climate region I would suggest using more culture when compared to people living in a warm humid climate. I use about 2 tablespoons to make my yogurt. If you are using the same container to set the yogurt, wait till the milk comes to the right temperature and then add the culture directly into the milk and mix well. In my case, I add the cooled down milk into the Tupperware which has the starter in it.
- Now cover the container and place it in a warm place overnight or 6-12 hours depending on where you live. In colder temperatures, it will take longer for the yogurt to set, whereas, in a warm humid place, the yogurt would set in about 4-6 hours.
- Refrigerate the yogurt right after it sets or if you like tangy flavor; leave it out for a couple of more hours to make it tangy. Also, the yogurt becomes thicker once refrigerated. So I would recommend that you refrigerate it for at least a couple of hours before serving.
- If you prefer really thick and creamy homemade yogurt, then strain the set yogurt through a muslin cloth and then use it.


This was so well explained, it came out perfect! I'm new to fermenting and yogurt making but I definitely wanna do it more often now!
I eat yogurt pretty frequently for breakfast but have never thought of making my own at home however this is definitely something I want to try.
It's been ages since I made my own yogurt and your recipe was easy to follow and the yogurt was delicious!
I have never tried making my own yogurt before, but now I am totally inspired! I am definitely going to try this recipe soon. 🙂
This is so easy to follow and great recipe. The yogurt was creamy and thick. Saving for future uses too.
I did not realize homemade yogurt was so quick and easy to make! This is a game changer!
This yogurt turns out great. I do strain mine for more a Greek yogurt texture.
I use this as my go to yogurt recipe. I use whole milk for the creamiest yogurt and it turns out great.
This was a fascinating read! I learned so much, and you’re right about Greek yogurt being so expensive!
The homemade yogurt was perfect! It was so easy and I am so happy how it turned out. 👩🍳🍨😋
Great method. Thanks for the tips. I always use whole milk for my yogurt. I love the richness.