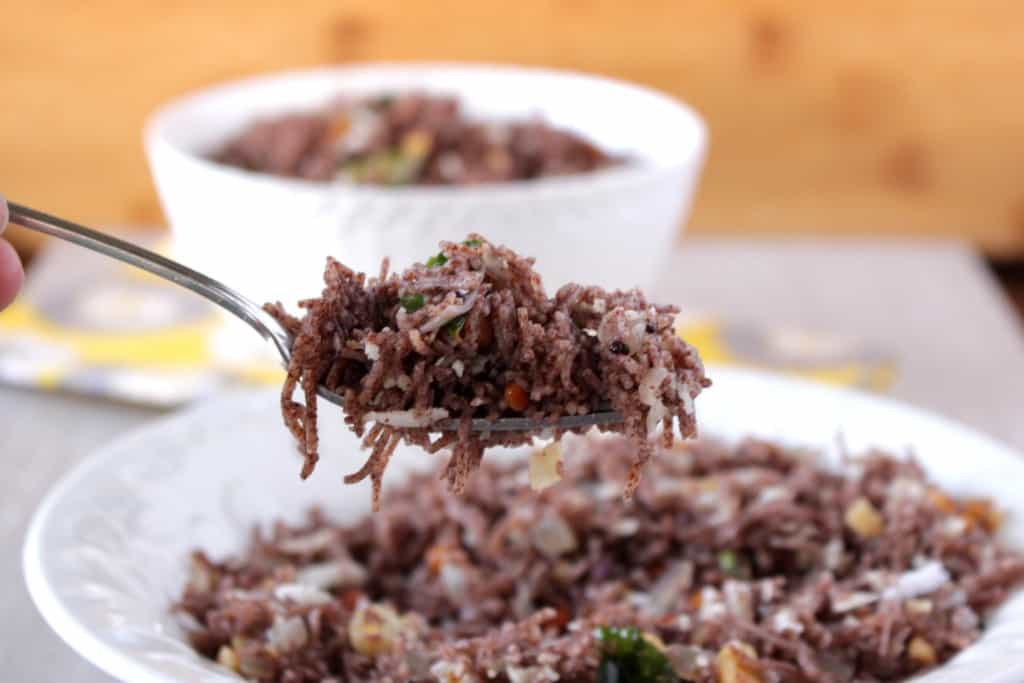
Ragi Idiyappam is one of the most delicious and easy recipes to incorporate whole grains like finger millet (ragi) into our diet. Use the kezhvaragu sevai to serve with vegetable stew or make it into upma.
I had a long-time wish of cooking a main dish with ragi as I have never used it other than making Ragi savory dosai / crepes and Ragi sweet dosai / Sweet crepes. This mega marathon opened up my imagination (and also my husband’s) and we together came up with several recipes that were quite new to me and several that were really beyond my skill level.
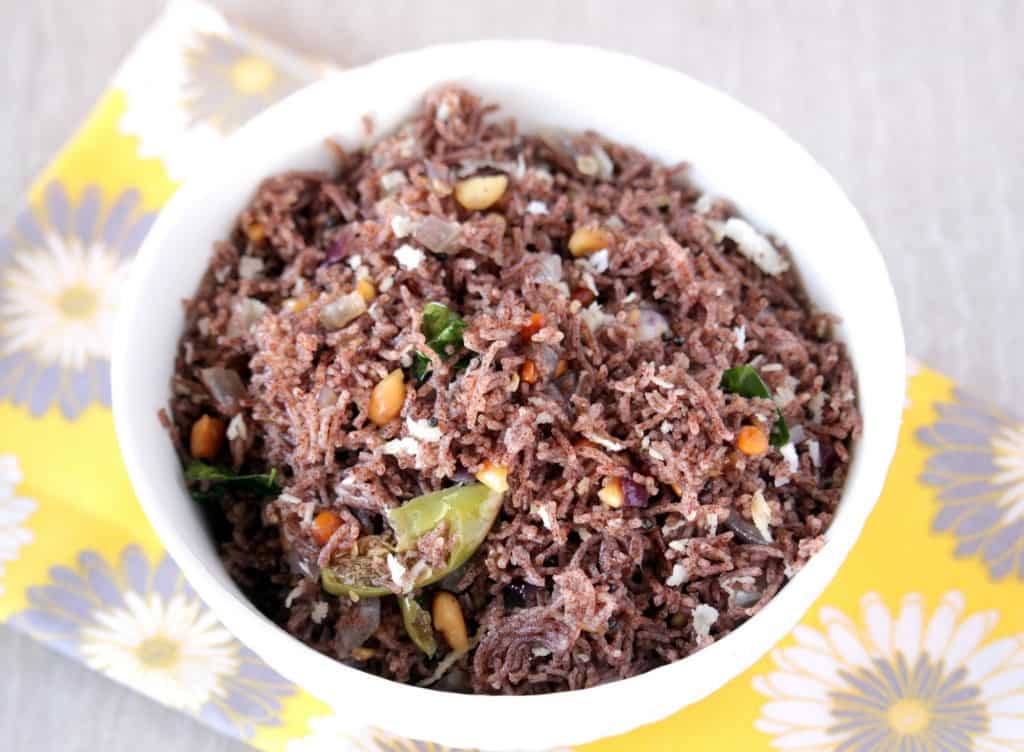
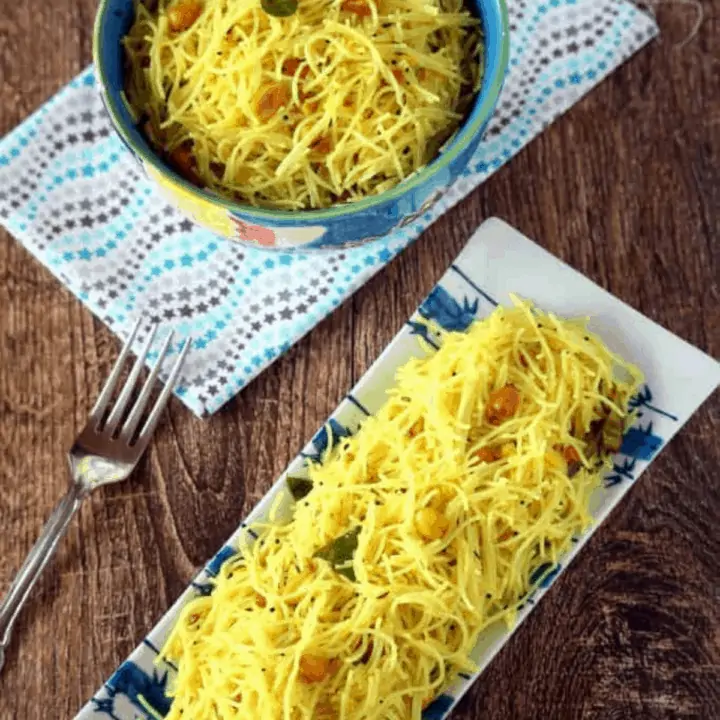
I wanted to make Idiyappam for ‘I’ and Ragi Sevai for ‘R’. Since making the idiyappam with rice flour and Ragi Idiyappam are quite similar, I changed my choice to ‘I’ and made Inji Marappa instead.
My friend Ranganayaki came to my rescue and gave me her recipe to make the kezhvaragu idiyappam and it came out beyond perfect. The only change I made to her recipe was to add some rice flour to the ragi flour as I read that it helps keeps the idiyappam soft even after it cools down.
We can make this finger millet idiyappam entirely with ragi flour, but I would highly recommend adding the rice flour if you are making it for the first time. It helps takes a little bit of the earthy flavor of the ragi and also makes it very soft. Also, roasting the ragi flour helps in maintaining a good texture instead of making it chewy.
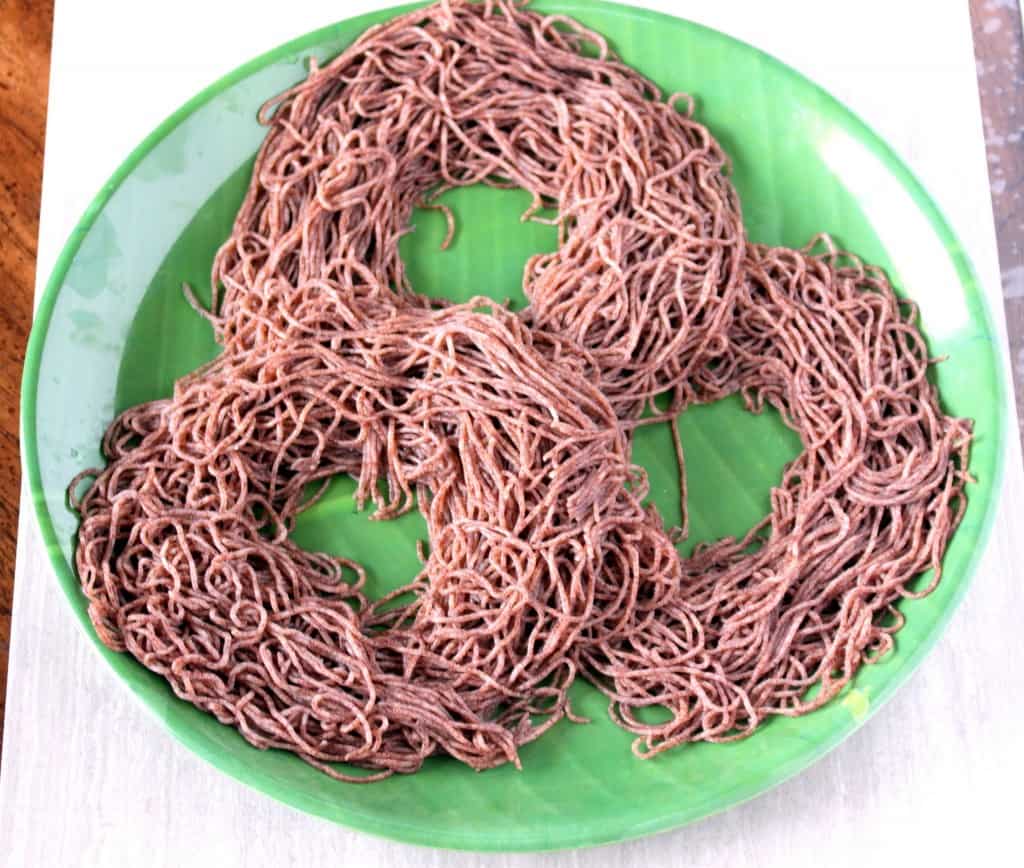
How to squeeze the string hoppers
I have a Sevai naazhi (traditional Sevai-making equipment), but it is packed and stored in the garage. I used my thenkuzhal naazhi with the achu that has tiny holes (used to make omapodi).
It was quite a task to squeeze out the ragi idiyappam without its actual equipment and my palm was all red by the time I was done making it, but it was totally worth it.
The finger millet idiyappam was so soft and delicious that I was craving to eat it with some coconut milk and sugar. But since my plan was to make the savory version, I added salt to the dough.
I am going to be making it soon again, so I can savor it with some coconut milk and sugar. That is my mother’s favorite way of eating idiyappam and I am going to try it soon.
The idea to make the savory version was in my mind ever since my dear friend Suji gave me her seasoned ragi Sevai that she had made with store-bought ragi vermicelli. I fell in love with the earthiness of the ragi and wanted to make it soon.
When I knew that I can very easily make the ragi idiyappam at home instead of buying it from stores, I was super excited. I am so glad the recipe worked great and we all enjoyed it.
My other recipes from this series
A - Athirasam
B - Badam Burfi
C - Chettinad Masala Cheeyam
D - Dosai Milagai Podi
E - Ellu Urundai
F - Fruit Kesari
G - Godhumai Rava Pidi Kozhukattai
H - Homemade Rice flour
I - Inji Marappa
J - Jevvarisi Thengai Paal Payasam
K - Kancheepuram Idli
L - Lemon Pickle
M - Manapparai Murukku
N - Nokkal
O - Oothappam
P - Pattinam Pakoda
Q - Quinoa Dosai
Preparation time – 10 minutes
Cooking time – 15 minutes plus about 7 minutes/batch for steaming
Difficulty level – easy
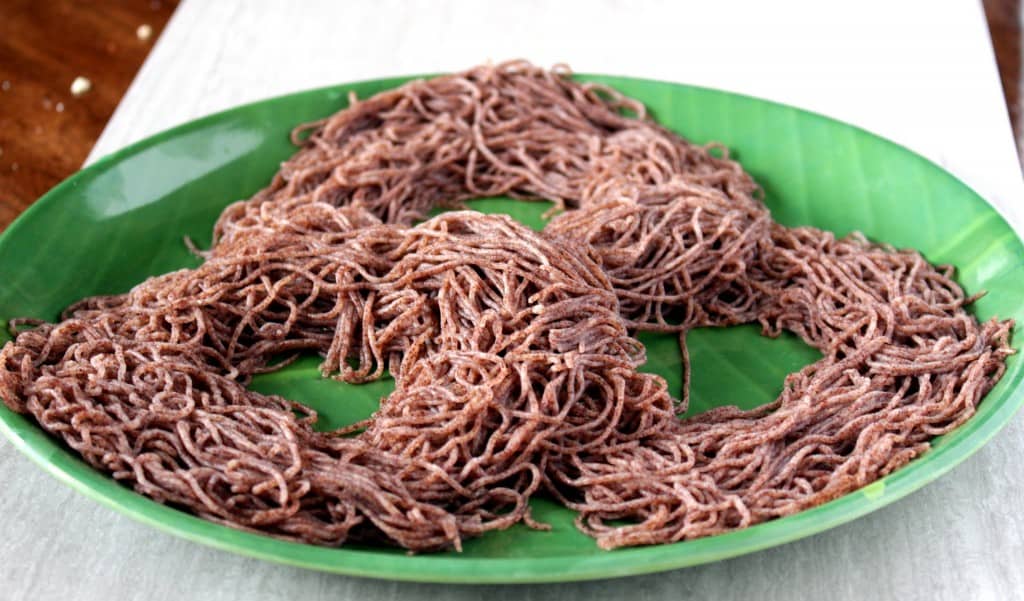
Ingredients to make Ragi Idiyappam
To make the Idiyappam -
- Ragi flour – 2 cups
- Rice flour – ½ cup (store-bought or homemade)
- Salt – to taste
- Water – about 4 cups
- Oil – about 2 tablespoon (preferably sesame seed oil)
To make the Savory Sevai –
- Oil – 2 tbsp
- Mustard seeds – 1 tsp
- Ullutham Paruppu / Urad dal – 2 tsp
- Asafetida – a pinch
- Peanuts – ¼ cup
- Onion – 1 large (finely chopped)
- Green chilies – 4 (slit lengthwise)
- Curry leaves – few
- Coconut – ¼ cup
- Salt – to taste
Step by Step Process
- Dry roast the ragi flour for about 4-5 minutes until it is aromatic and heated all through. Dry roasting the ragi flour helps takes the sliminess away and helps take away the innate bitterness of the grain.
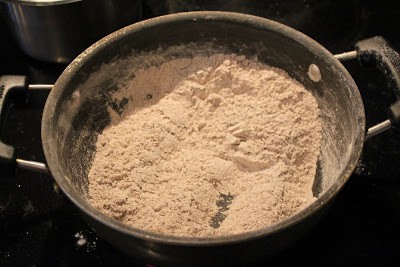
- Also roast the rice flour for a couple of minutes. It just needs to get warm and it need not change color.
- Simultaneously, boil the water in a vessel. Take a little more than 4 cups as we might need more or less depending on the quality of the flour. Let the water come to a rolling boil. This stage is very important to cook the ragi and make it soft. So do not take out the water before it is boiling well.
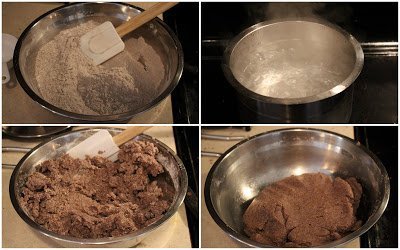
- Add the roasted flour in a large bowl. Add the salt needed to the flour and mix well.
- Slowly add the boiling water to the flour and mix it with a wooden ladle. Add little by little and bring the flour together. Also, add the oil at this stage, and once the heat is a little manageable use your hands to make a soft dough. Make sure the dough is on the softer side and not too hard as it will be very hard to squeeze it out of the idiyappam maker.
- Cover the dough and let it sit for about 10 minutes.
- Grease the idiyappam maker with oil and also grease the steamer plates and keep them ready.
- Add water to the steamer and heat it up so it is ready and simmering.
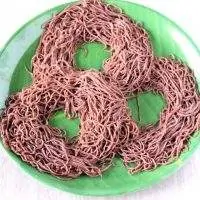
- Take a ball of dough that will fit inside the idiyappam maker and then start squeezing out the idiyappam onto the steamer plate. If using idli plates, make small idiyappams to fit inside the idli moulds.
- If the dough is breaking apart when squeezing it out, add a little bit more hot water and mix and then make the idiyappams.
- Steam the idiyappam for about 5 to 6 minutes. These idiyappams steam really quickly and do not need more than 6 minutes.
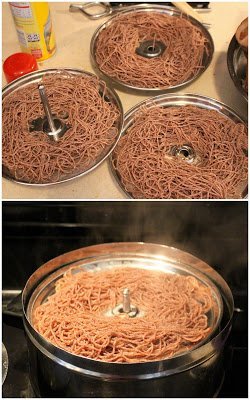
- Let it cool a bit in the steamer plates and then take them out on a plate. Repeat the same with the rest of the dough.
To make the Masala Sevai
- When the ragi idiyappam cools down a bit, shred them into small pieces.
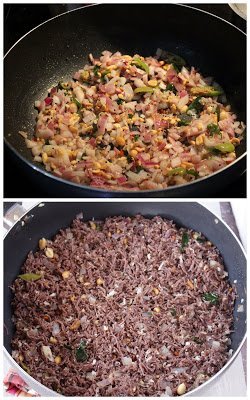
- Heat oil in a pan and add the seasoning ingredients; mustard, urad dal, asafetida, curry leaves, and peanuts. Fry them until the peanuts are golden brown and then add the onion and the green chilies.
- Sauté the onions until translucent and add salt just enough for the onion mixture. Remember that the idiyappam already has salt in it.
- Add the shredded finger millet idiyappam and mix gently. Add the coconut gratings and give it one last mix.
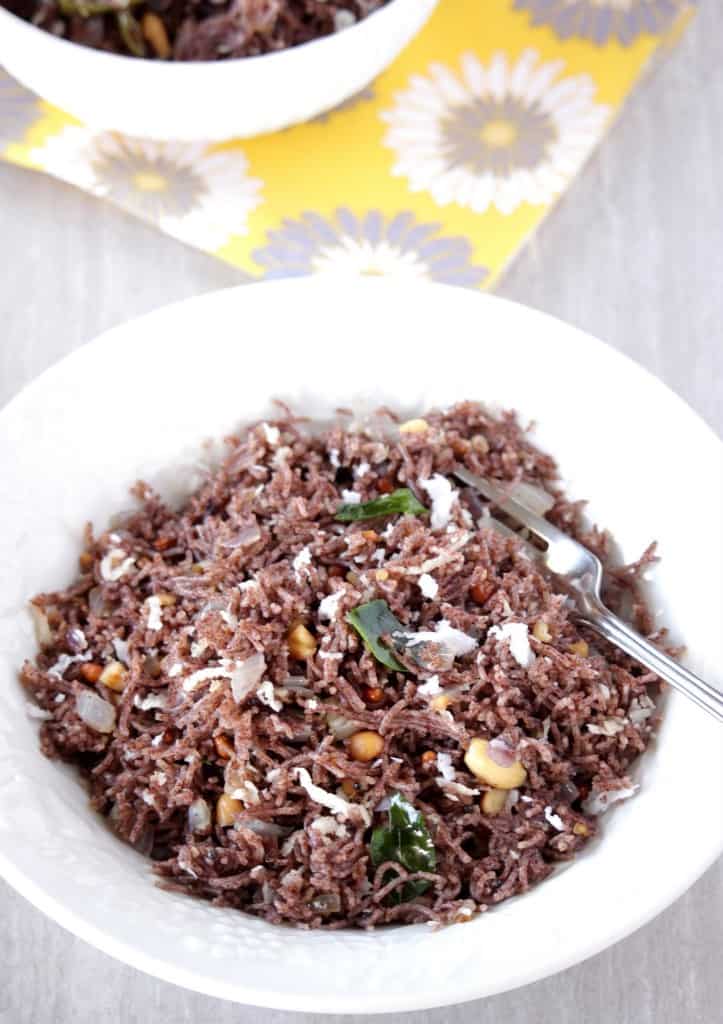
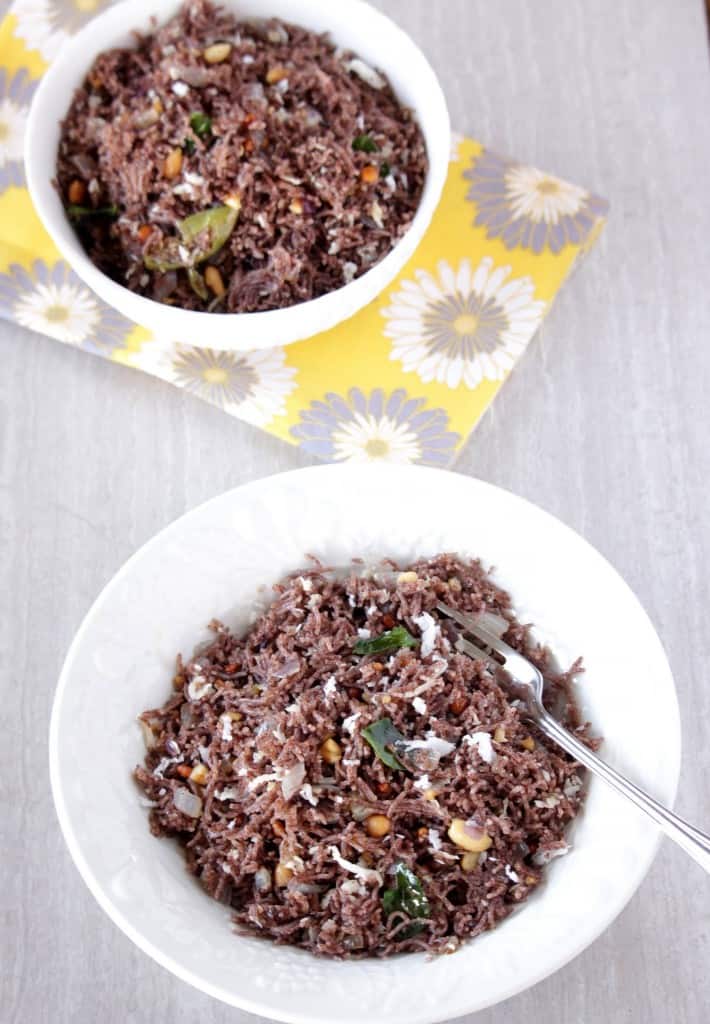
- Serve the kezhvaragu idiyappam warm with chutney!
More Breakfast
If you made this recipe and liked it, give a star rating on the recipe card or let me know in the comments below. You could also share it with me on Instagram using #MyCookingJourney and tagging me @sandhya.ramakrishnan. You could follow me and my recipes on Facebook |Instagram | Pinterest | twitter
Recipe
Ragi Idiyappam | Finger millet string hoppers
Equipment
- steamer
Ingredients
To make the Idiyappam -
- 2 cups Ragi flour
- ½ cup Rice flour store bought or homemade
- to taste Salt
- 4 cup Water
- 2 tablespoon Oil preferably sesame seed oil
To make the Savory Sevai –
- 2 tablespoon Oil
- 1 teaspoon Mustard seeds
- 2 teaspoon Ullutham Paruppu / Urad dal
- ⅛ teaspoon Asafetida
- ¼ cup Peanuts
- 1 Onion finely chopped
- 4 Green chilies slit lengthwise
- few Curry leaves
- ¼ cup Coconut
- to taste Salt
Instructions
- Dry roast the ragi flour for about 4-5 minutes until it is aromatic and heated all through. Dry roasting the ragi flour helps takes the sliminess away and helps take away the innate bitterness of the grain.
- Also roast the rice flour for couple of minutes. It just needs to get warm and it need not change color.
- Simultaneously, boil the water in a vessel. Take a little more than 4 cups as we might need more or less depending on the quality of the flour. Let the water come to a rolling boil. This stage is very important to cook the ragi and make it soft. So do not take out the water before it is boiling well.
- Add the roasted flours in a large bowl. Add the salt needed to the flour and mix well.
- Slowly add the boiling water to the flour and mix it with a wooden ladle. Add little by little and bring the flour together. Also add the oil at this stage and once the heat is a little manageable use your hands to make soft dough. Make sure the dough is on the softer side and not too hard as it will be very hard to squeeze it out of the idiyappam maker.
- Cover the dough and let it sit for about 10 minutes.
- Grease the idiyappam maker with oil and also grease the steamer plates and keep them ready.
- Add water to the steamer and heat it up so it is ready and simmering.
- Take a ball of dough that will fit inside the idiyappam maker and then start squeezing out the idiyappam on to the steamer plate. If using idli plates, make small idiyappams to fit inside the idli moulds.
- If the dough is breaking apart when squeezing it out, add a little bit more hot water and mix and then make the idiyappams.
- Steam the idiyappam for about 5 to 6 minutes. These idiyappams steam really quickly and does not need more than 6 minutes.
- Let it cool a bit in the steamer plates and then take them out on a plate. Repeat the same with the rest of the dough.
To make the Masala Sevai
- When the ragi idiyappam cools down a bit, shred them into small pieces.
- Heat oil in a pan and add the seasoning ingredients; mustard, urad dal, asafetida, curry leaves and peanuts. Fry them until the peanuts are golden brown and then add the onion and the green chilies.
- Sauté the onions until translucent and add salt just enough for the onion mixture. Remember that the idiyappam already has salt in it.
- Add the shredded idiyappam and mix gently. Add the coconut gratings and give it one last mix.
- Serve warm with chutney!



Leave a Reply