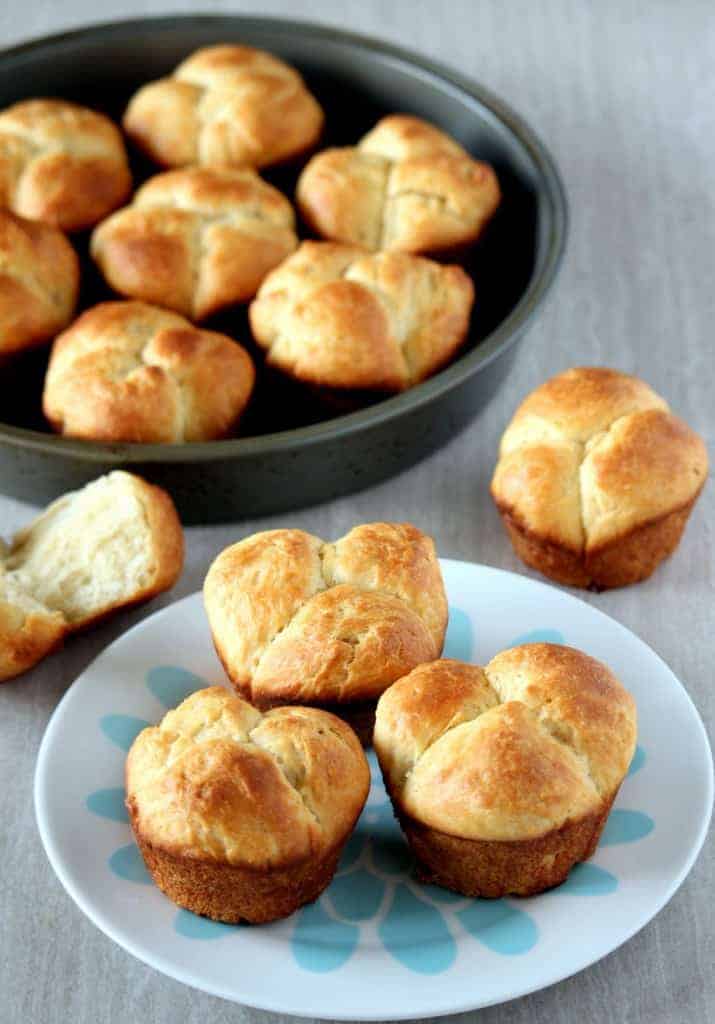
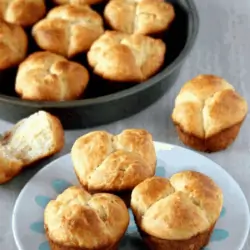
No Knead Cloverleaf Rolls
This Cloverleaf Rolls recipe was very simple to put together and I also let the dough sit in the refrigerator for a day before I made the rolls. This dough can be made a couple of days ahead and refrigerated.
This week I am doing shaped and yeasted bread/rolls and the first one I chose is this cloverleaf-shaped dinner roll. I have never worked with 'No Knead' bread recipes and this is my first trial with it.
Personally I just love the feel of the dough in my hands when I am kneading them. But, I got to admit though that is not for my Kitchen Aid stand mixer; I would not be saying this.
The machine does most of my kneading and I just do the final few punches with my hands to get the feel of how the dough is when it's ready to rise.
This recipe was very simple to put together and I also let the dough sit in the refrigerator for a day before I made the rolls. This dough can be made a couple of days ahead and refrigerated.
Just make sure that you leave the dough out for a couple of hours before shaping the dough.
I only have one large muffin pan that could make 12 muffins. So I made 12 rolls in the cloverleaf shape and the remaining, I just shaped them as regular rolls.

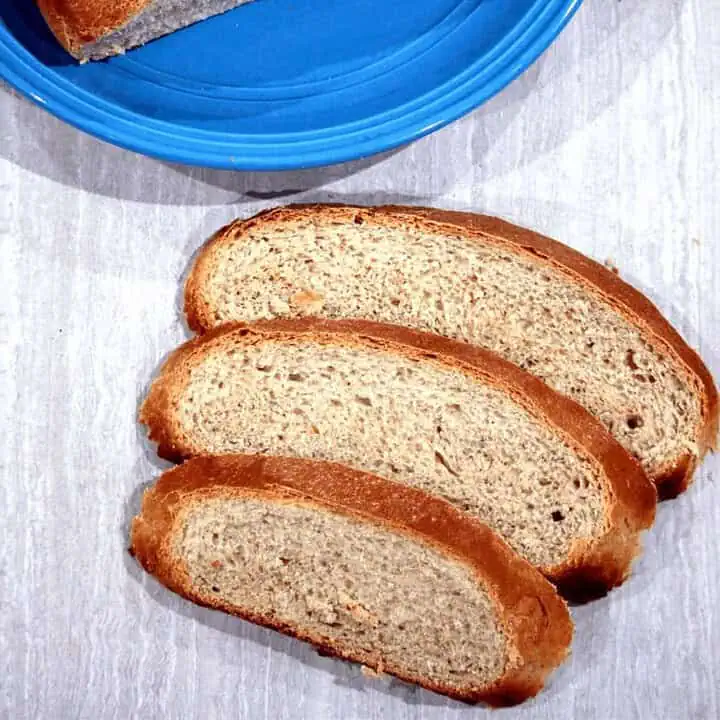
This dough is very basic and can be for any kind of roll. I still have not made any loaf bread with this recipe but plan on trying one soon.

Preparation time - 15 minutes plus 2 to 3 hours of rise time
Cooking/baking time - about 18 minutes per batch
Difficulty level - easy
Recipe adapted from - The Pioneer Woman

Ingredients to make Cloverleaf Rolls - Makes about 24 rolls
- All-purpose flour - 4 ½ cups
- Active dry yeast - 2 ¼ tsp
- Milk - 2 cups
- Vegetable oil - ½ cup
- Sugar - ½ cup
- Baking powder - ½ tsp
- Baking soda - ½ tsp
- Salt - 1 tbsp

Procedure to make Cloverleaf Rolls -
Making the Dough -
- In a large pot add the milk, sugar, and vegetable oil and let it just come to a boil. Just before the mixture is coming to a boil, turn off the flame and let this cool down to a lukewarm temperature. The mixture should still be warm when you touch it, but not too hot to kill the yeast.

- To this add 2 cups of flour and the yeast and mix well. The mixture will now look like a thick batter.

- Now add 2 more cups of flour and mix with a wooden ladle. At this stage, the mixture will still be very sticky. Cover the pot with a kitchen towel and let it sit in a warm place for about an hour or until it is doubled in volume.

- Now add the remaining ½ cup of flour along with baking powder, baking soda, and salt and mix well with the ladle. At this stage, I did knead the dough a little to help incorporate the ingredients well. It was hard to stir using a ladle.

- We can make the rolls now or if making them later, refrigerate them at this stage. If making it at a later time, make sure you bring the dough back to room temperature before shaping them. I made the dough a day before and refrigerated it. Then I left it out for a couple of hours before shaping it. The dough was still rising inside the refrigerator and I had to punch it down once as it was up to the top of the pot.
Shaping and baking rolls -
- Grease the large muffin pan liberally with butter.
- Pinch very small ping pong size pieces out of the dough and shape it into a rough ball.

- Place 3 balls in each muffin hole. Repeat until you have used up all the dough.

- Cover the tray and let it rise until the dough has risen well. I left them to rise for about 1 ½ hours and by then they rose over the rim of the muffin hole.
- Brush the rolls liberally with a mixture of milk and butter or cream. I use about 2 teaspoon of butter and 2 tablespoon of milk and warm them to mix well. This mixture helps in giving a nice color to the rolls when compared to just the milk. I am assuming the bit of fat helps in color development.
- Preheat the oven to 400 F and bake the rolls for about 17 to 20 minutes. Mine baked for about 17 minutes.

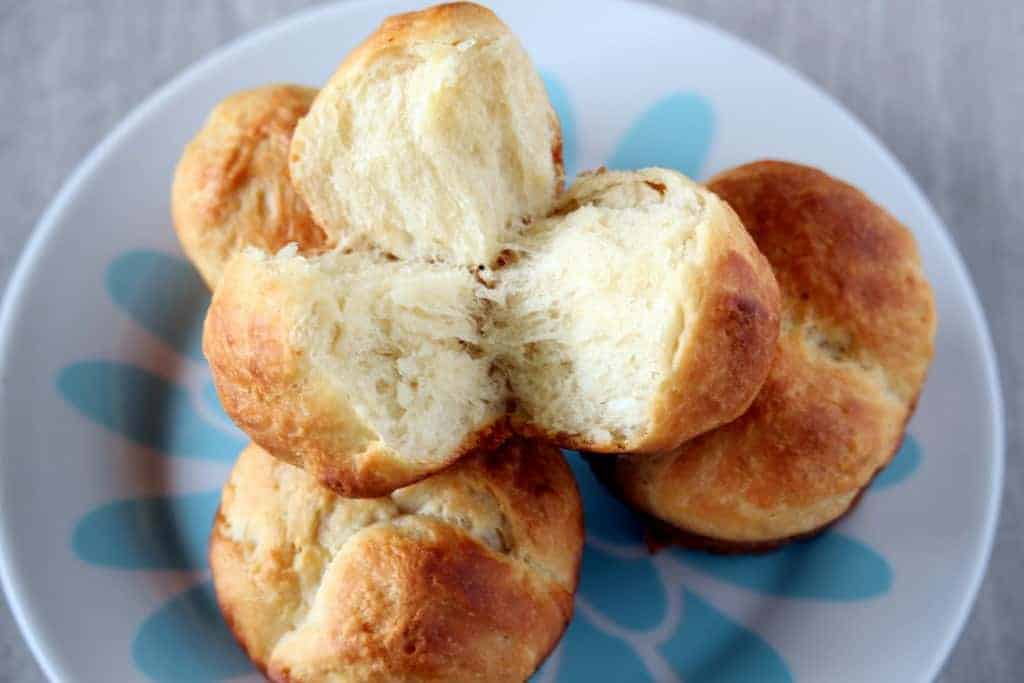
- Let them sit in the pan for about 10 minutes and then loosen them gently from the pan and serve warm with butter. It was just so much fun to pull apart the cloverleaf and eat!

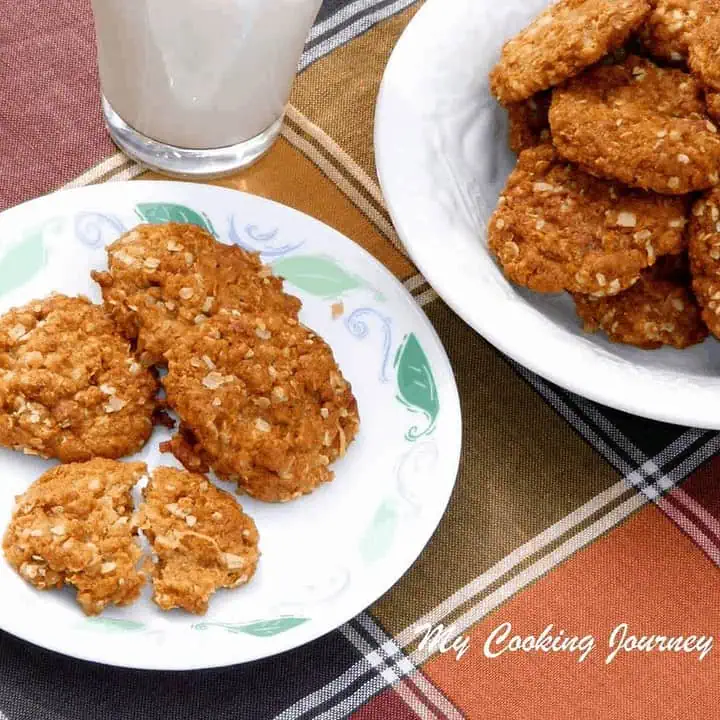
More Eggless Recipes

If you made this recipe and liked it, give a star rating on the recipe card or let me know in the comments below. You could also share it with me on Instagram using #MyCookingJourney and tagging me @sandhya.ramakrishnan. You could follow me and my recipes on Facebook |Instagram | Pinterest | Twitter/X
Recipe
No-Knead Cloverleaf Rolls
Equipment
- Oven
- pan
Ingredients
- 4 ½ cups All-purpose flour
- 2 ¼ teaspoon Active dry yeast
- 2 cups Milk
- ½ cup Vegetable oil
- ½ cup Sugar
- ½ teaspoon Baking powder
- ½ teaspoon Baking soda
- 1 tablespoon Salt
Instructions
MAKING THE DOUGH -
- In a large pot add the milk, sugar, and vegetable oil and let it just come to a boil. Just before the mixture is coming to a boil, turn off the flame and let this cool down to a lukewarm temperature. The mixture should still be warm when you touch it, but not too hot to kill the yeast.
- To this add 2 cups of flour and the yeast and mix well. The mixture will now look like a thick batter.
- Now add 2 more cups of flour and mix with a wooden ladle. At this stage, the mixture will still be very sticky. Cover the pot with a kitchen towel and let it sit in a warm place for about an hour or until it is doubled in volume.
- Now add the remaining ½ cup of flour along with baking powder, baking soda, and salt and mix well with the ladle. At this stage, I did knead the dough a little to help incorporate the ingredients well. It was hard to stir using a ladle.
- We can make the rolls now or if making them later, refrigerate at this stage. If making it at a later time, make sure you bring the dough back to room temperature before shaping it. I made the dough a day before and refrigerated it. Then I left it out for a couple of hours before shaping. The dough was still rising inside the refrigerator and I had to punch it down once as it was up to the top of the pot.
SHAPING AND BAKING ROLLS -
- Grease the large muffin pan liberally with butter.
- Pinch very small ping pong size pieces out of the dough and shape it into a rough ball.
- Place 3 balls in each muffin hole. Repeat until you have used up all the dough.
- Cover the tray and let it rise until the dough has risen well. I left them to rise for about 1 ½ hour and by then they rose over the rim of the muffin hole.
- Brush the rolls liberally with a mixture of milk and butter or cream. I use about 2 teaspoon of butter and 2 tablespoon of milk and warm them to mix well. This mixture helps in giving a nice color to the rolls when compared to just the milk. I am assuming the bit of fat helps in color development.
- Preheat the oven to 400 F and bake the rolls for about 17 to 20 minutes. Mine baked at about 17 minutes.
- Let them sit in the pan for about 10 minutes and then loosen them gently from the pan and serve warm with butter. It was just so much fun to pull apart the cloverleaf and eat!

I’m very happy that this was a success. With so many attempts of making bread and baguettes, this was perfect! Love it, like all the pictures, easy to understand and follow. Now, I’m going to make some soup. Thanks a million for your recipe. Now, I’m going to make some soup.
Hi Tess, Thanks a lot for your feedback! I am so glad that the recipe worked well for you. Enjoy your dinner!
I've never tried making cloverleaf rolls and love the sound of a no-knead recipe! Nice step-by-step photos.
These rolls are so cute and I love how crusty they look! These would be a perfect addition to my Christmas pot roast.
Luci's Morsels | fashion. food. frivolity.
Growing up, when my Mom and I would make trips to the mall the next town over, we would stop for lunch at a fancy cafeteria. At the very end of the line there would be delicious rolls and breads and EVERY SINGLE TIME I would choose their cloverleaf rolls. There is just something so delightful about pulling the pieces apart and seeing the steam rise out of them! I love that these are no-knead and I'm excited to try them out and remember my childhood! 🙂
Thank you for sharing your experience Mackenzie! Growing uo days are so much fun and there are times when I want to go back to those simple days.
I am so bad at baking bread but you make it look easy. I love all of your step by step photos! I'll bet your house smelled so good after baking these!
Thanks Karen! The best part about baking is the divine smell that the house is filled with 🙂
Can you believe that I don't have a recipe for dinner rolls yet? These look so easy - and I love that you broke the dough down into three balls to make it easy!
Taylor, we do miss out on so many basic recipes at times right? These are really easy ones to try...