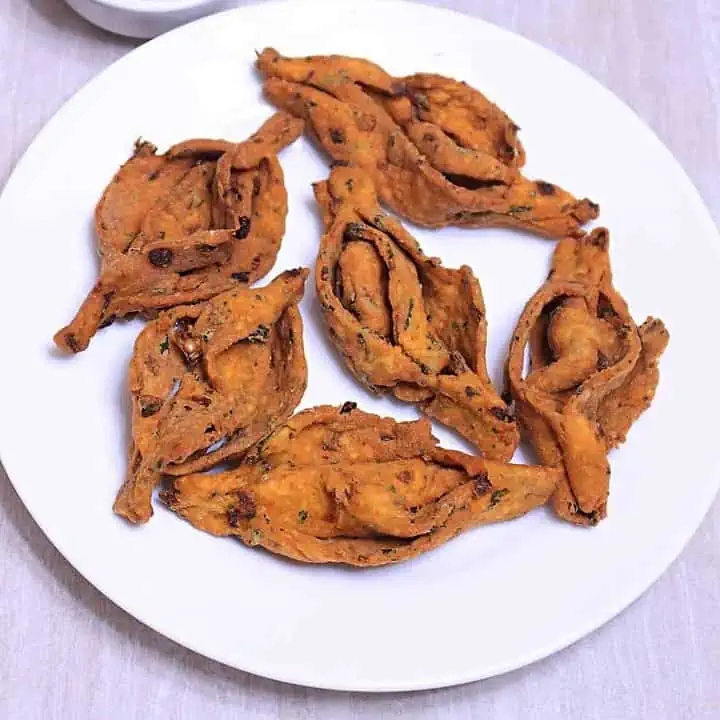
Manapparai Murukku Recipe
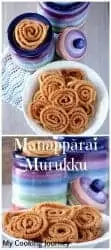
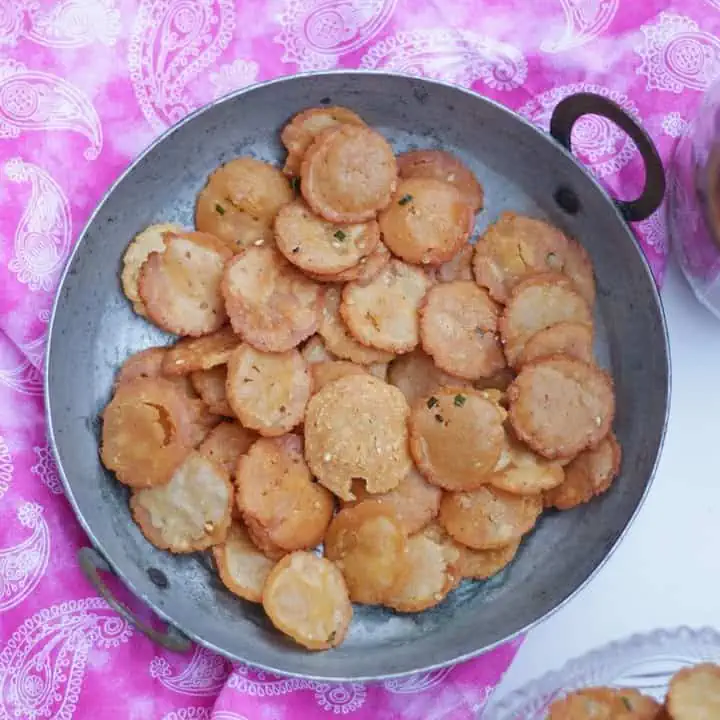
Manapparai Murukku has its origins in the town of Manapparai in Tamil Nadu, India. This Murukku is very crunchy and stays that way for a long time.
Manapparai is a small town in Tamil Nadu near Tiruchirapalli. This town is very famous for this murukku and dairy. This Manapparai Murukku business was started by Mani Iyer, who sold this Manapparai Murukku in the railway canteen. It became so famous that it started spreading out.

Now there are several shops all over the town that make these Manapparai murukkus and sell in kilograms. There are vendors who claim that no one can achieve this taste which is unique to this town.
When questioned he said that it is because of the flavor of the local town water that adds to the uniqueness of the taste.
I am not sure how much of that is true, but I found this murukku very irresistible. It was really crunchy and it maintained the crunch for a long time. There is a couple of things that were different in the recipe which makes it different from the other murukkus.
The recipe has very little urad flour (ullatham maavu). Also, the murukkus are double-fried which makes it extra crispy. Also traditionally the murukku is deep fried in ground nut oil. I used regular cooking oil to fry them.

It is a very simple recipe and I used store-bought rice flour for this. You could also use homemade rice flour for this recipe. Do not skip the double frying technique which makes this recipe very unique.
My other recipes from this series -
A - Athirasam
B - Badam Burfi
C - Chettinad Masala Cheeyam
D - Dosai Milagai Podi
E - Ellu Urundai
F - Fruit Kesari
G - Godhumai Rava Pidi Kozhukattai
H - Homemade Rice flour
I - Inji Marappa
J - Jevvarisi Thengai Paal Payasam
K - Kancheepuram Idli
L - Lemon Pickle

Preparation time - 10 minutes
Cooking time - about 40 minutes
Difficulty level - easy
Recipe adapted from - The Hindu

Ingredients to make Manapparai Murukku - (makes about 20 small murukkus)
- Rice flour - 1 cup
- Ullutham maavu (urad dal flour) - 1 tbsp
- Sesame seeds - ½ tbsp
- Omam / Ajwain - ¼ tsp
- Jeeragam / Cumin seeds - ¼ tsp
- Butter - 1 tbsp
- Salt - to taste
- Asafetida - a couple of pinches
- Oil - to deep fry
- Star nozzle in the Murukku press

Procedure to make Manapparai Murukku -
- Fry the rice flour for 3 to 4 minutes until slightly warm. The rice flour should not change color. It should just get a little warm.

- Fry the ullutham paruppu / urad dal until golden brown. I made a large batch to use for later. For this quantity, it is enough if you just roast 2 tablespoon of urad dal.

- Let it cool down and then grind it into a smooth powder. Sieve the powder and keep it aside.

- In a large bowl, add the rice flour, 1 tablespoon of urad dal flour, sesame seeds, cumin seeds, ajwain, asafetida, salt, and butter. I pounded the cumin seeds and ajwain a little bit before adding it to the flour. Using your hands mix all the ingredients well and incorporate the butter evenly.
- Now add water slowly and make stiff, but soft dough. Keep it covered until ready to use.

- Heat oil in a kadai and start shaping the murukkus on a plate. I had a couple of greased plates ready and I made the shape of the murukkus on them. If the dough breaks up when making the murukku, it means the dough is on the drier side. Sprinkle a little bit of water to the dough and then try again. It does take a little bit of practice to get the shape perfect. I succeeded only halfway through in getting a decent-looking complete circle.

- Gently slide the prepared murukku into hot oil and fry until pale brown. I fried about 4 murukkus at one time. Do not crowd the pan when frying. Now drain the half-fried, pale-looking murukku in a bowl and repeat the same with the rest of the dough.


- Now go back and fry all the half-fried murukku in batches again for the second time. This process is what makes the murukku extra crispy. Now fry until they are golden brown and then drain.
This is how the murukku will look after first frying and second frying.

- Let them cool down completely before storing in an air-tight container.

Sweets That Pair Well for Snacks
More Savory Snacks

If you made this recipe and liked it, give a star rating on the recipe card or let me know in the comments below. You could also share it with me on Instagram using #MyCookingJourney and tagging me @sandhya.ramakrishnan. You could follow me and my recipes on Facebook |Instagram | Pinterest | Twitter/X
Recipe
Manapparai Murukku Recipe
Equipment
- bowl
- pan
- Spautla
Ingredients
- 1 cup Rice flour
- 1 tablespoon Ullutham maavu urad dal flour
- ½ tablespoon Sesame seeds
- ¼ teaspoon Omam / Ajwain
- ¼ teaspoon Jeeragam / Cumin seeds
- 1 tablespoon Butter
- to taste Salt
- couple of pinches Asafetida
- to deep fry Oil -
- Star nozzle in the murukku press
Instructions
- Fry the rice flour for 3 to 4 minutes until slightly warm. The rice flour should not change color. It should just get a little warm.
- Fry the ullutham paruppu / urad dal until golden brown. I made a large batch to use for later. For this quantity, it is enough if you just roast 2 tablespoon of urad dal.
- Let it cool down and then grind it into a smooth powder. Sieve the powder and keep it aside.
- In a large bowl, add the rice flour, 1 tablespoon of urad dal flour, sesame seeds, cumin seeds, ajwain, asafetida, salt and butter. I pounded the cumin seeds and ajwain a little bit before adding it to the flour. Using your hands mix all the ingredients well and incorporate the butter evenly.
- Now add water slowly and make stiff, but soft dough. Keep it covered until ready to use.
- Heat oil in a kadai and start shaping the murukkus on a plate. I had couple of greased plates ready and I made the shape of the murukkus on them. If the dough breaks up when making the murukku, it means the dough is on the drier side. Sprinkle a little bit water to the dough and then try again. It does take a little bit of practice to get the shape perfect. I succeeded only half way through in getting a decent looking complete circle.
- Gently slide the prepared murukku into hot oil and fry until pale brown. I fried about 4 murukkus at one time. Do not crowd the pan when frying. Now drain the half fried, pale looking murukku in a bowl and repeat the same with the rest of the dough.
- Now go back and fry all the half fried murukku in batches again for the second time. This process is what makes the murukku extra crispy. Now fry until they are golden brown and then drain.
- Let them cool down completely before storing in an air tight container.