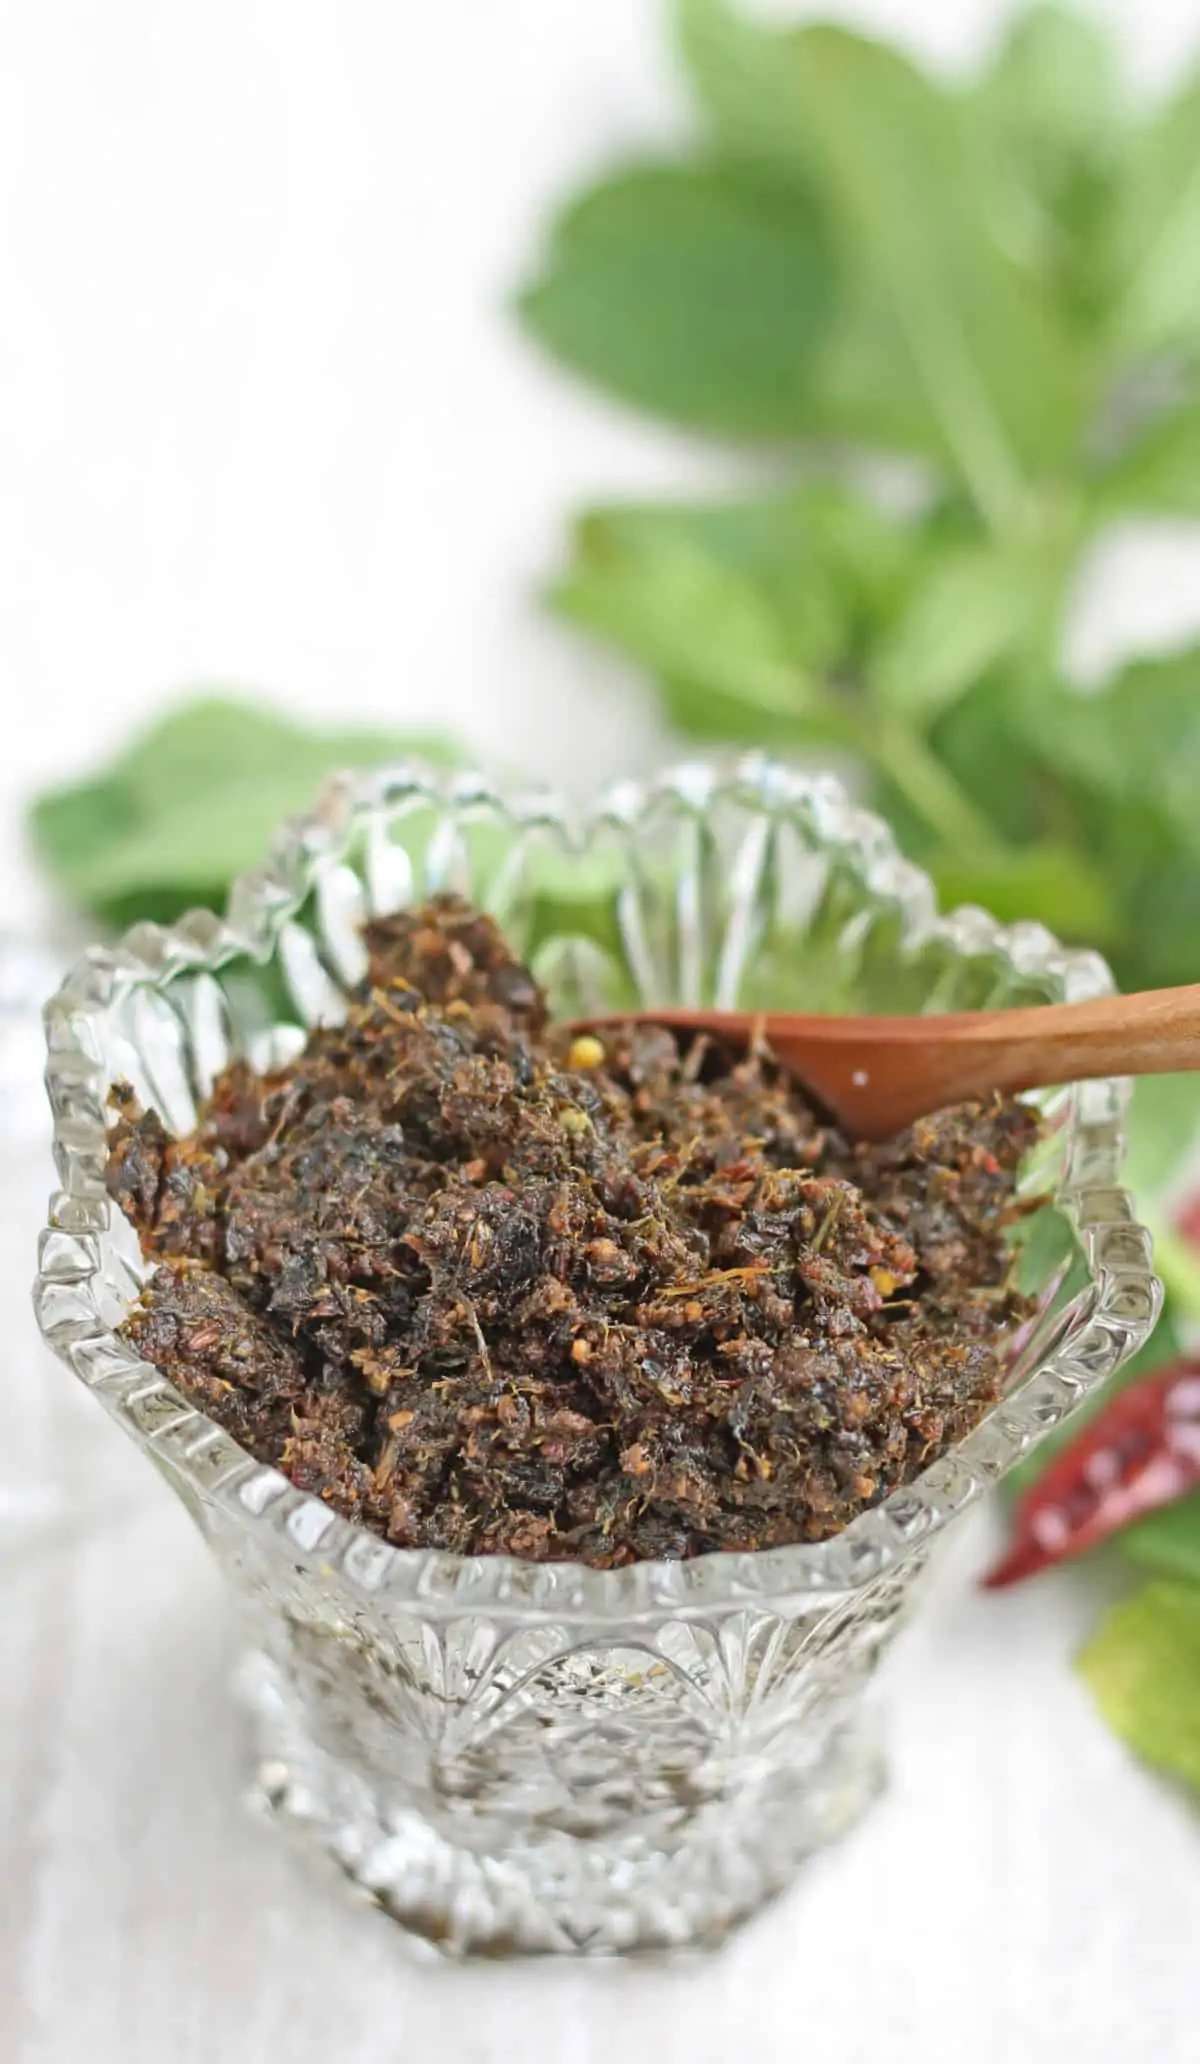
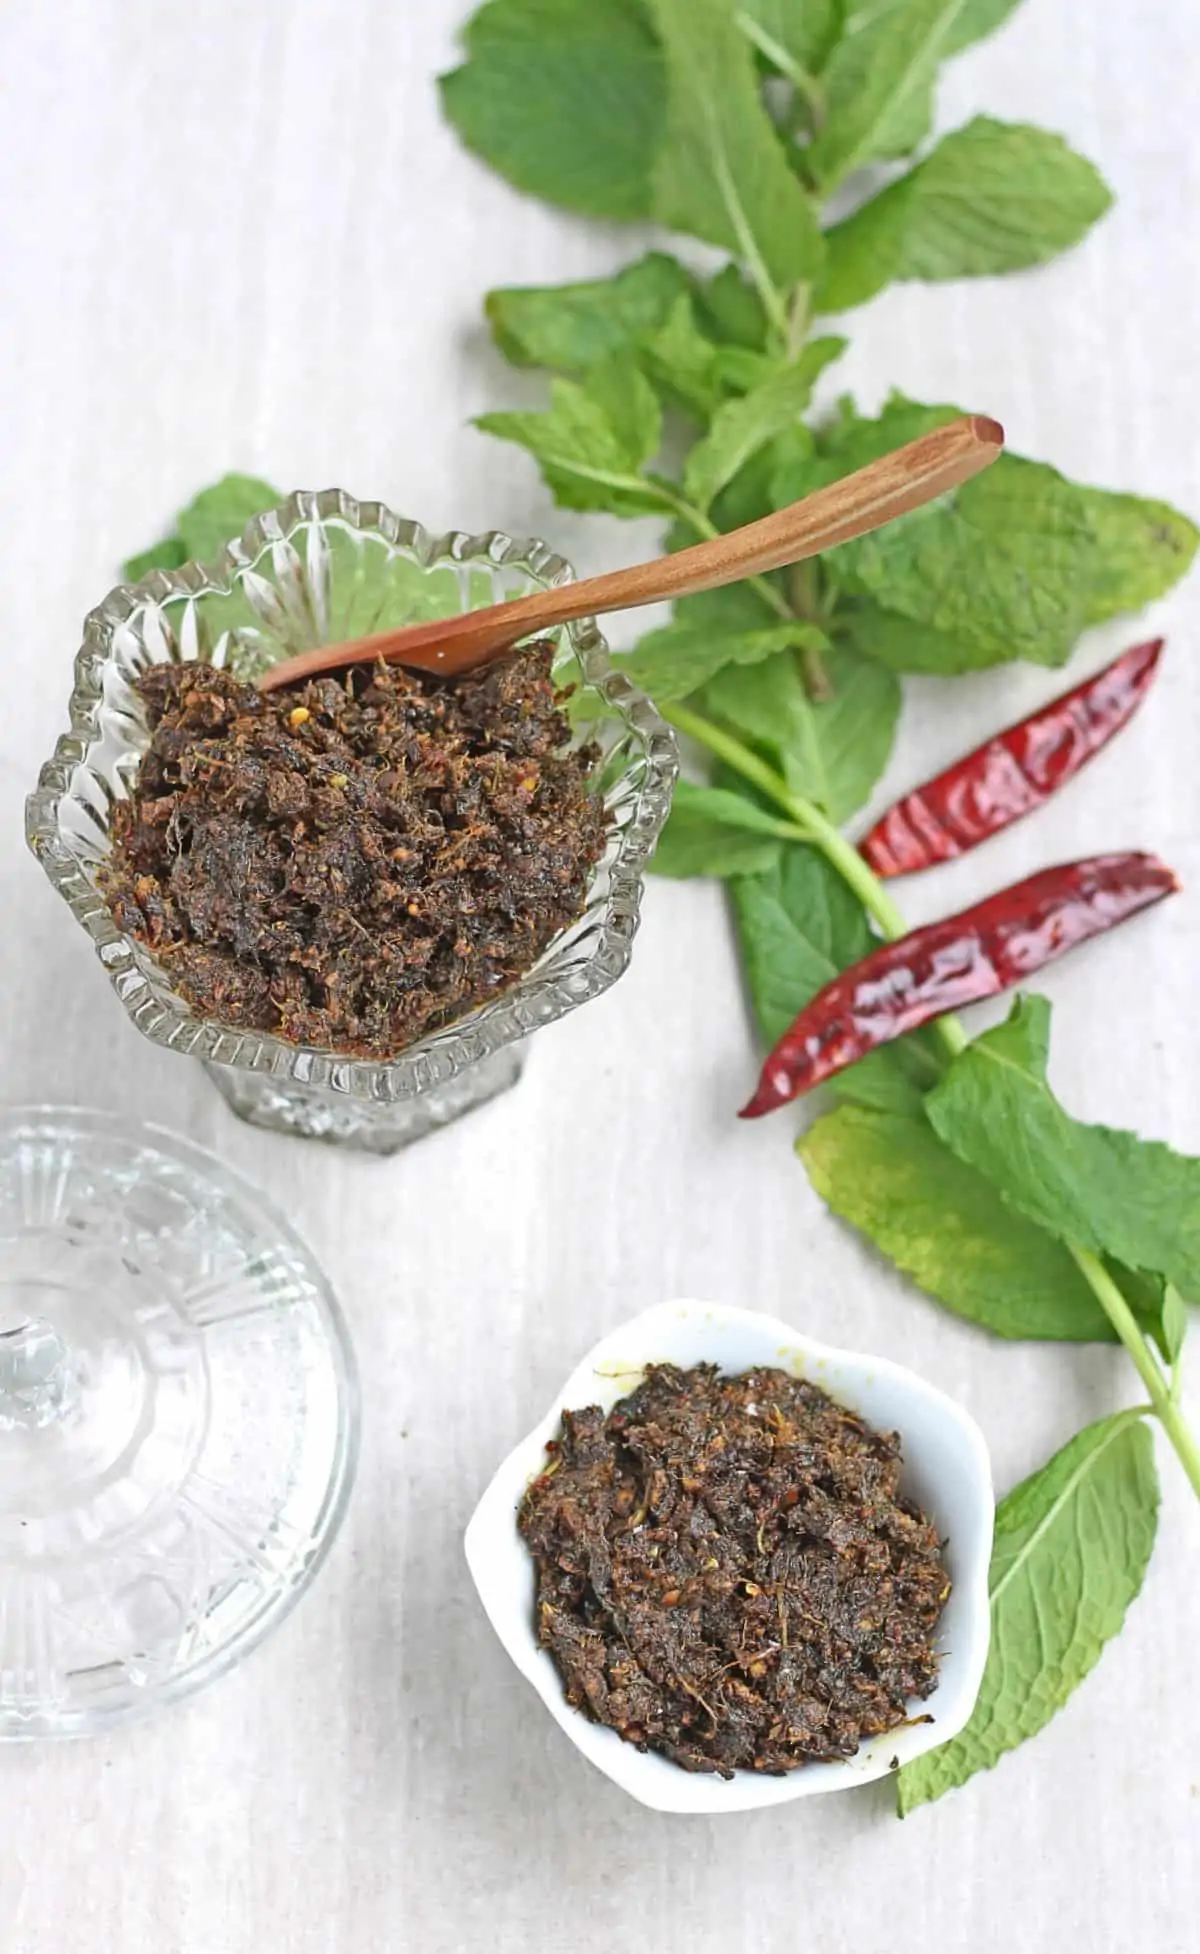
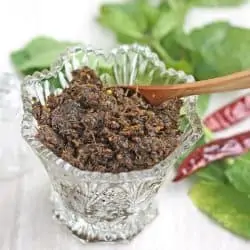
Pudina Thokku | Pudina Thogayal Recipe
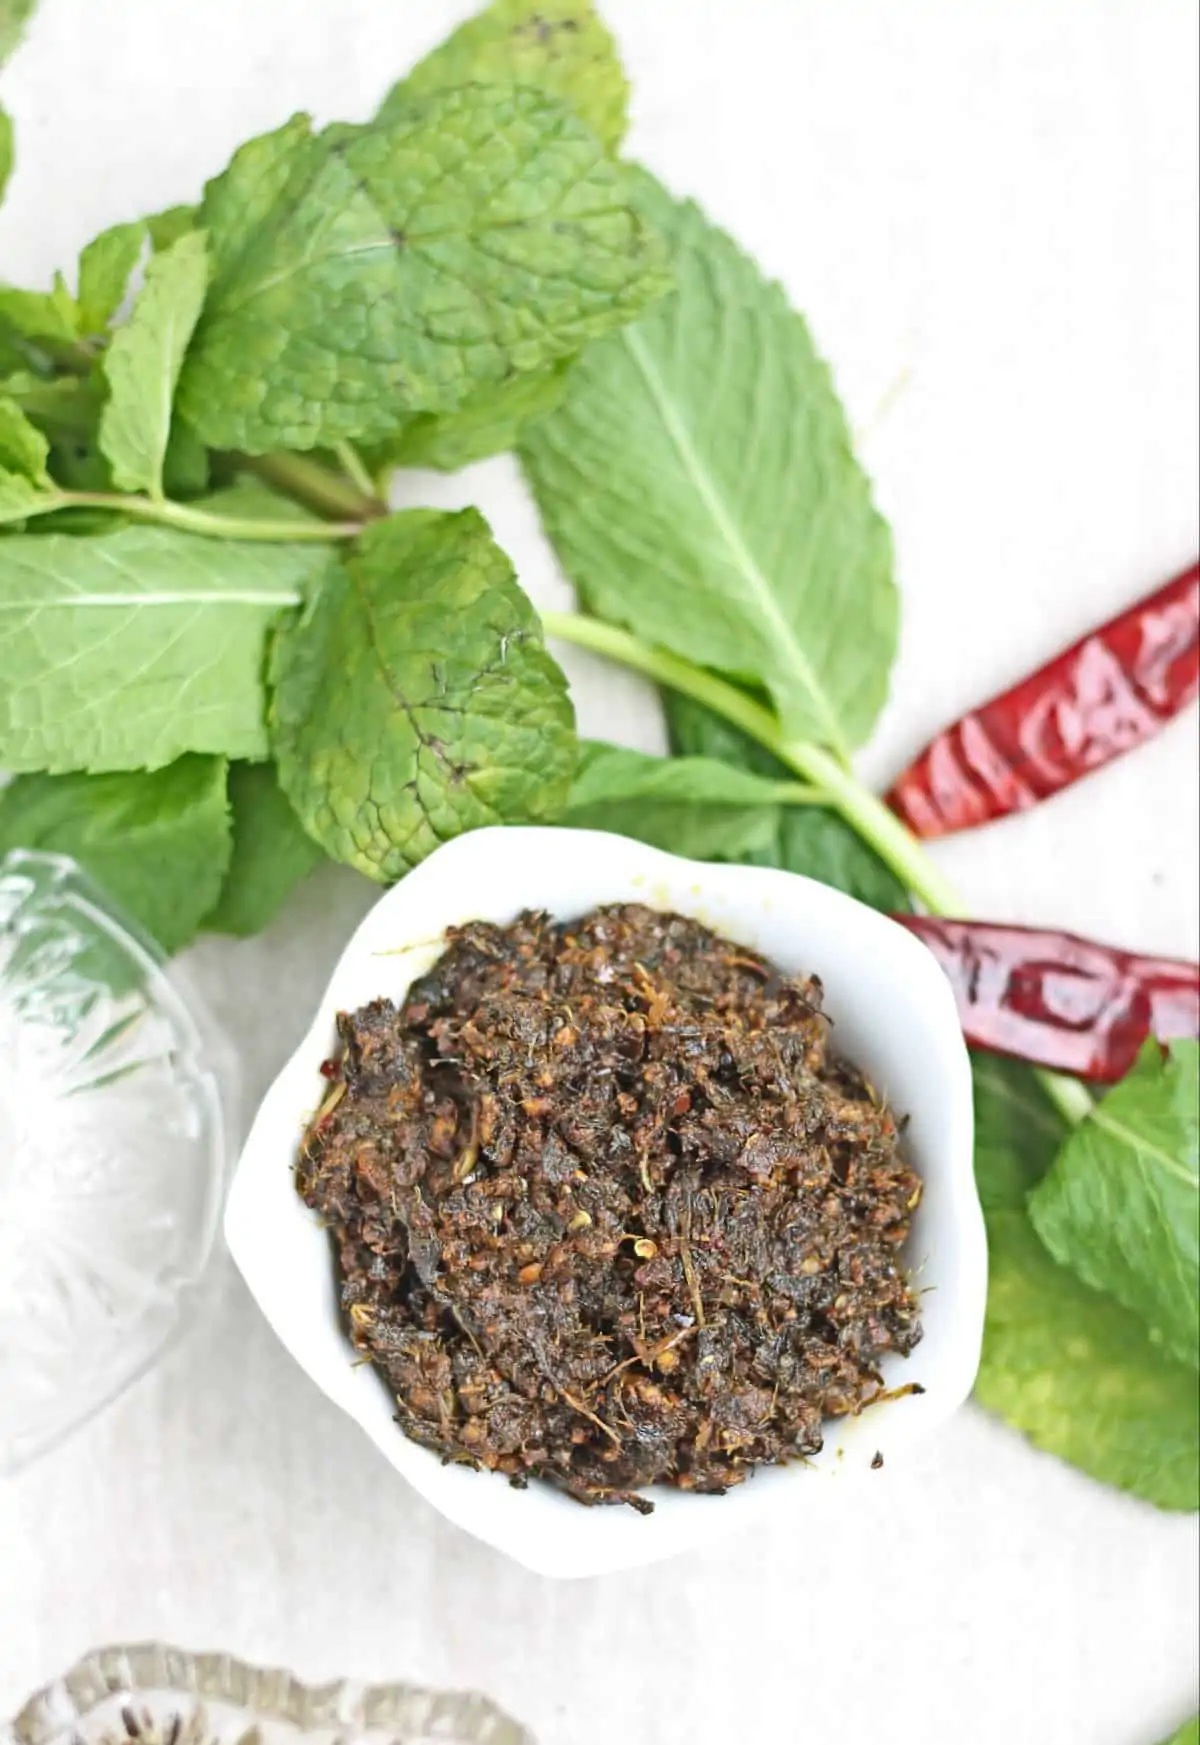
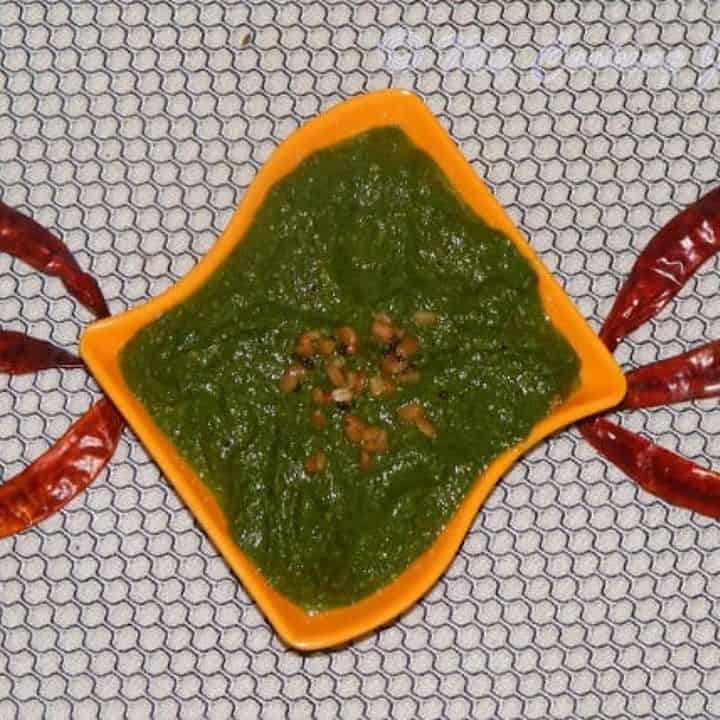
If you are looking to make recipes with mint from your garden, you have come to the right place. This pudina thokku / Mint thogayal made with fresh mint leaves and spices is a delight to have and works so well with plain rice and some sesame oil.
I have a weakness for mint and have a history of growing mint like wildfire. Now that's past me, and I have learned from my mistakes. I now have just a couple of pots (maybe 4 or 5) with mint plants, and they are doing quite well.
In the meantime, my dear friend Ranganayaki gave me a huge batch of mint from her garden, and it brought back so many memories from our New York days.
Table of contents
The mint that she got was so fresh and so aromatic that I immediately started making a list of what I was going to cook with it. I thought about making Mint Pulao, but I had plans of making Idlis for dinner.
So I had to change my list and instead thought of making something to go with idlis.
Is it pudina thokku or pudina thogayal?
You could loosely call it pudina thogayal / thuvayal, but I have taken it a bit further and cooked it further for a longer shelf life. Hence, I like to call it pudina thokku or mint pickle as it stores in the refrigerator much longer than the thogayal.
Also, since I had a lot of mint, I decided to make it like a thokku instead of a chutney so I could store it for longer.
If you know us, you will know that we love growing a lot of vegetables. One of my favorite summertime projects is figuring out how to store/preserve the produce to use it for a longer period.
For produce like tomatoes, I freeze a large chunk of them. If you want to read more, check out my post on 'How to freeze tomatoes'. I do the same for green chilies, bell peppers, beans, and pretty much a lot of produce.
One other way is to make pickles or thokku out of the vegetables. I make tomato thokku, bitter gourd pickle, mango thokku, Apple thokku, tomato pickle with garlic, and so on.
Ingredients and Substitutes
Check the recipe card at the bottom of the page for exact measurements and printable detailed recipes.
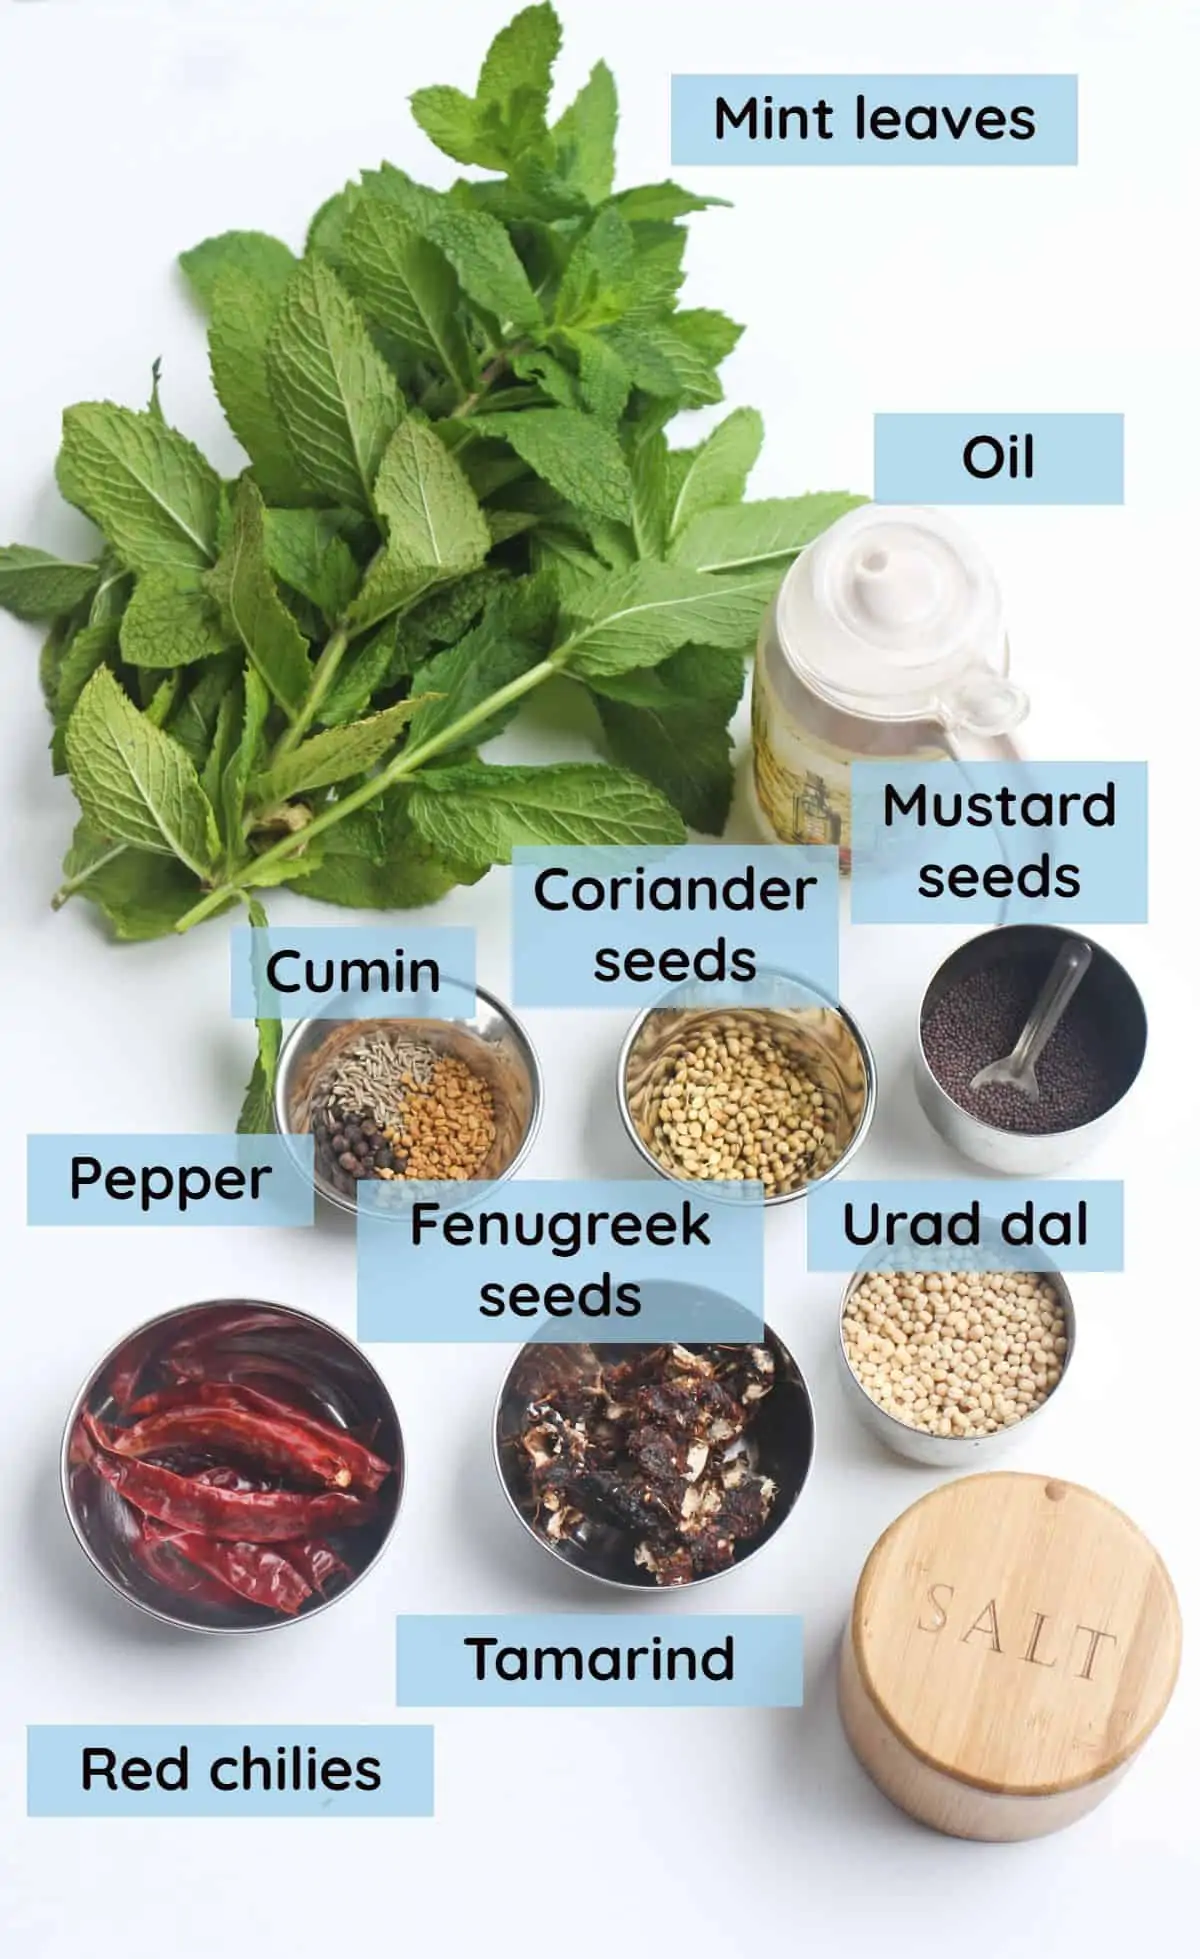
Mint leaves - Use fresh mint leaves to make this thokku. I used fresh mint from the garden. Make sure to clean them well to get rid of the dirt before using the pudina leaves in the recipe.
Oil - I like to use Indian sesame oil to make any kind of pickle. It just gives it an authentic flavor. You could use olive oil or vegetable oil instead.
Spices to fry and grind - I used coriander seeds, urad dal (ullutham paruppu), whole dry red chilies, peppercorn, cumin seeds, and fenugreek seeds.
Seasoning - I used mustard seeds and turmeric powder to season the pudina thogayal.
Tamarind - I like to use tamarind for the mint thokku as it gives it the much-needed acidity and enhances the flavor.
Salt and brown sugar (jaggery) - Amma always added vellam (jaggery) in the thokku, and the mild sweetness balanced the heat well. You could skip it if not a fan of sweetness.
Step-by-step process
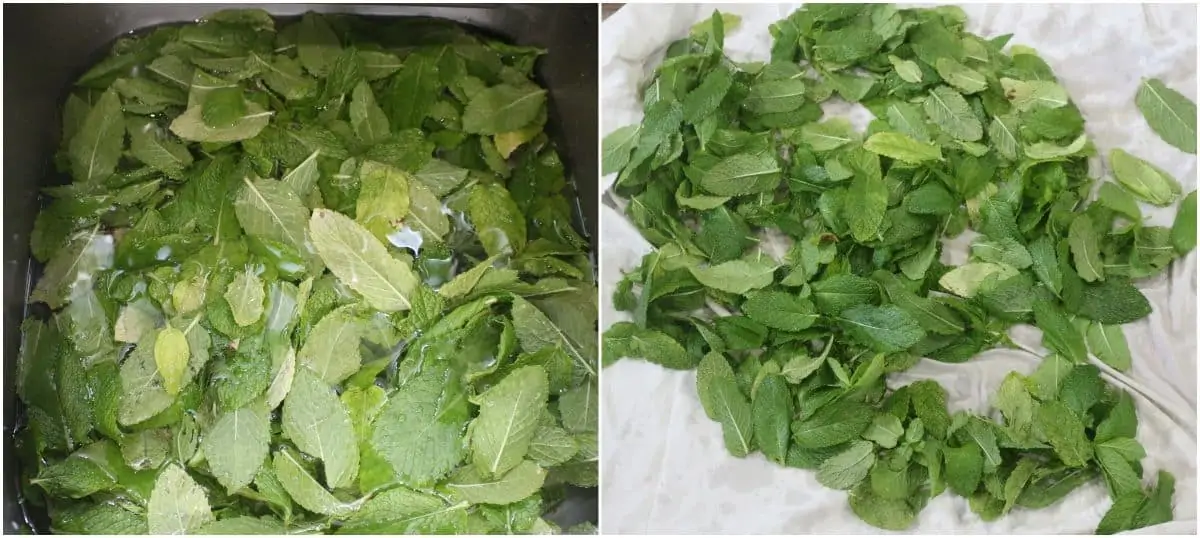
- Remove the mint leaves from the stems and keep them aside. Now wash the leaves well to remove any dirt sticking to them. I use my kitchen sink to wash the leaves when I am working with larger quantities. I seal the drain and then fill the sink with water and wash the leaves. Then let the leaves sit in the water to allow the dirt to settle. After a few minutes, carefully remove the leaves without disturbing the dirt.
- Now place the washed leaves in a clean kitchen cloth and let them air dry.
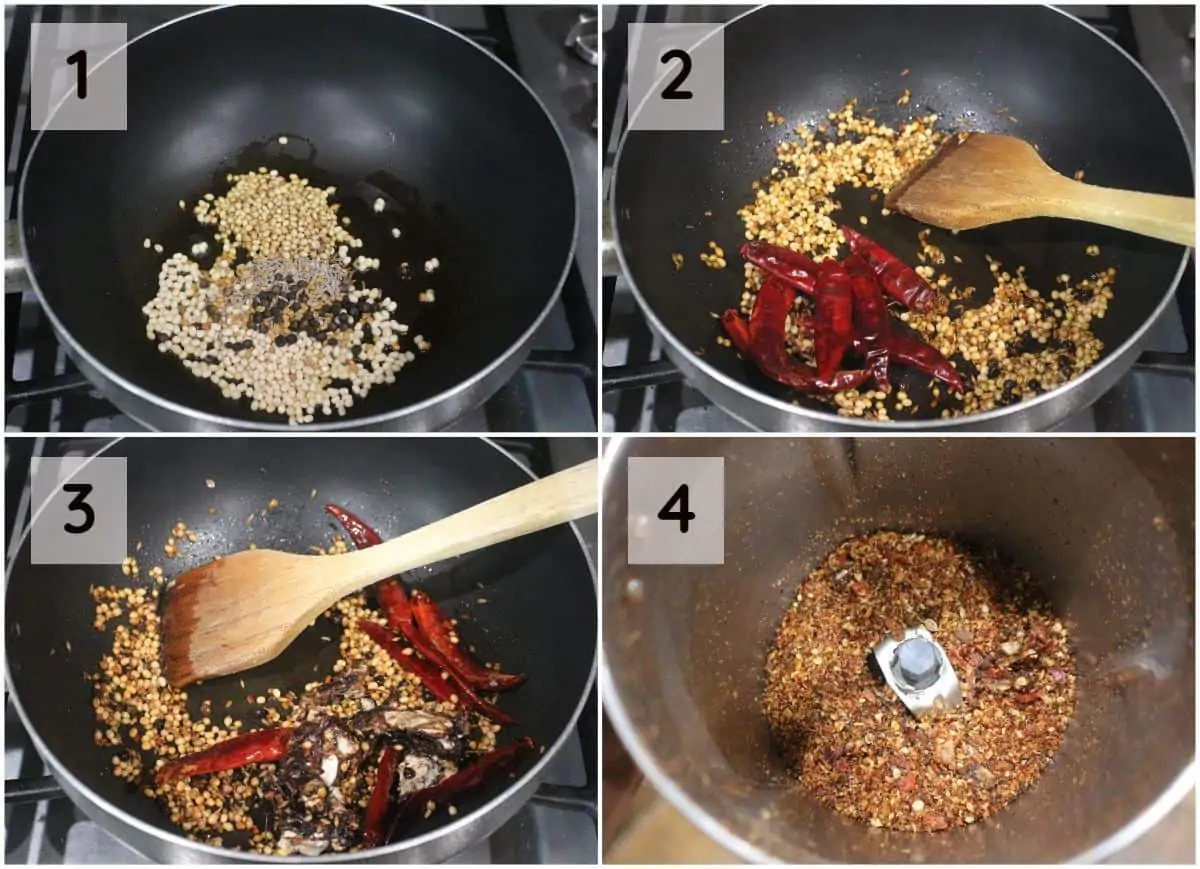
- Heat a teaspoon of oil in a pan and add the urad dal, coriander seeds, fenugreek seeds, peppercorns, and cumin. Fry them until they turn aromatic (about 30 seconds) (1).
- Now add the dry red chili and fry for 30 seconds more (2). Next, add the tamarind, stir once, and turn off the flame. Let the tamarind soften a bit in the heat (3).
- Place the cooled fried ingredients in the blender jar and coarsely grind it (4).
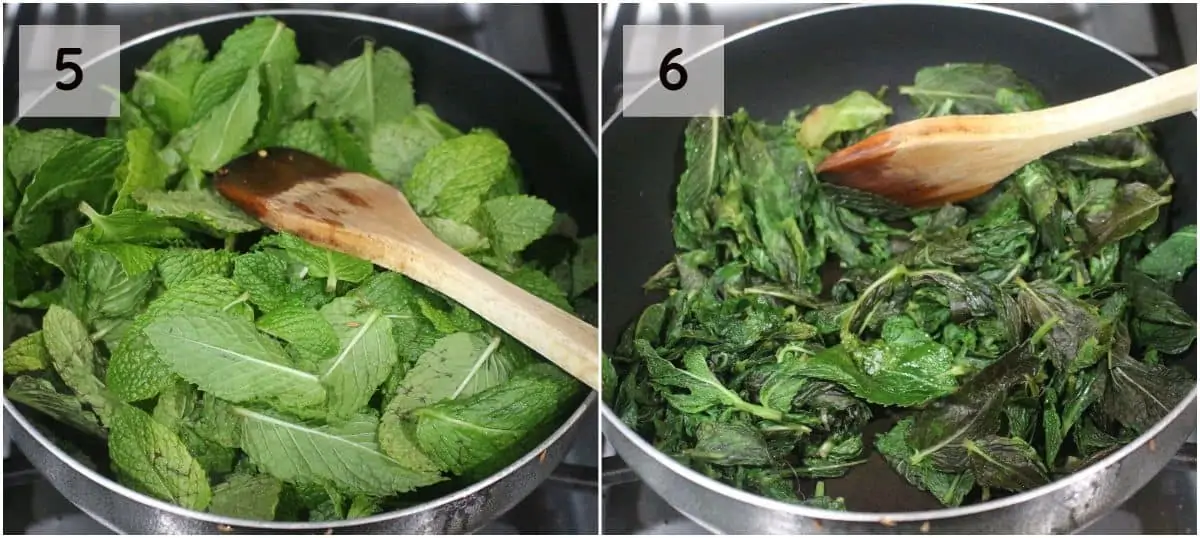
- In the same pan, add ½ teaspoon of oil. Add the washed and dried mint leaves (5) and sauté them on low heat for just about a minute until the leaves start to wilt (6). Take it off the heat and let it cool down.
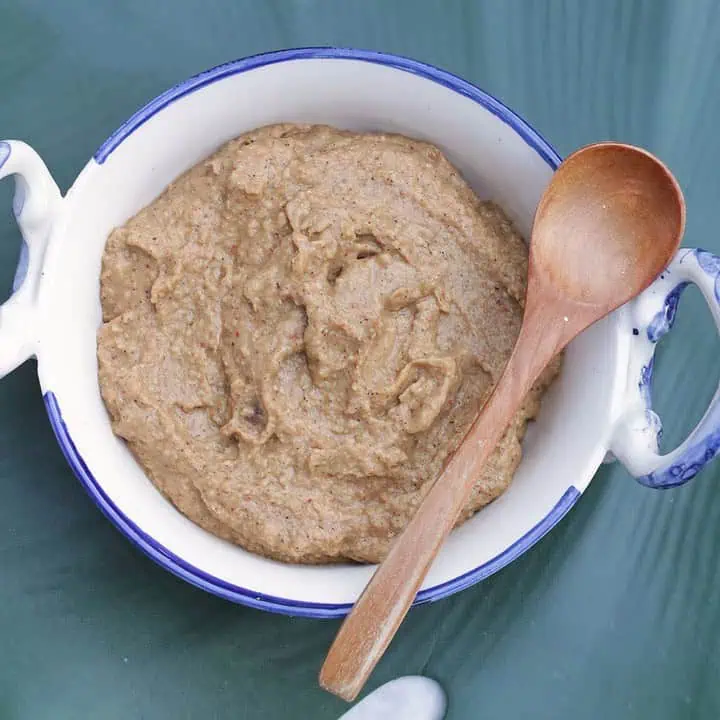
- Add the mint leaves to the blender with the ground spices and grind it into a paste, adding no water. Add salt when grinding. You can keep the paste slightly coarse like I did, or grind it smoothly.
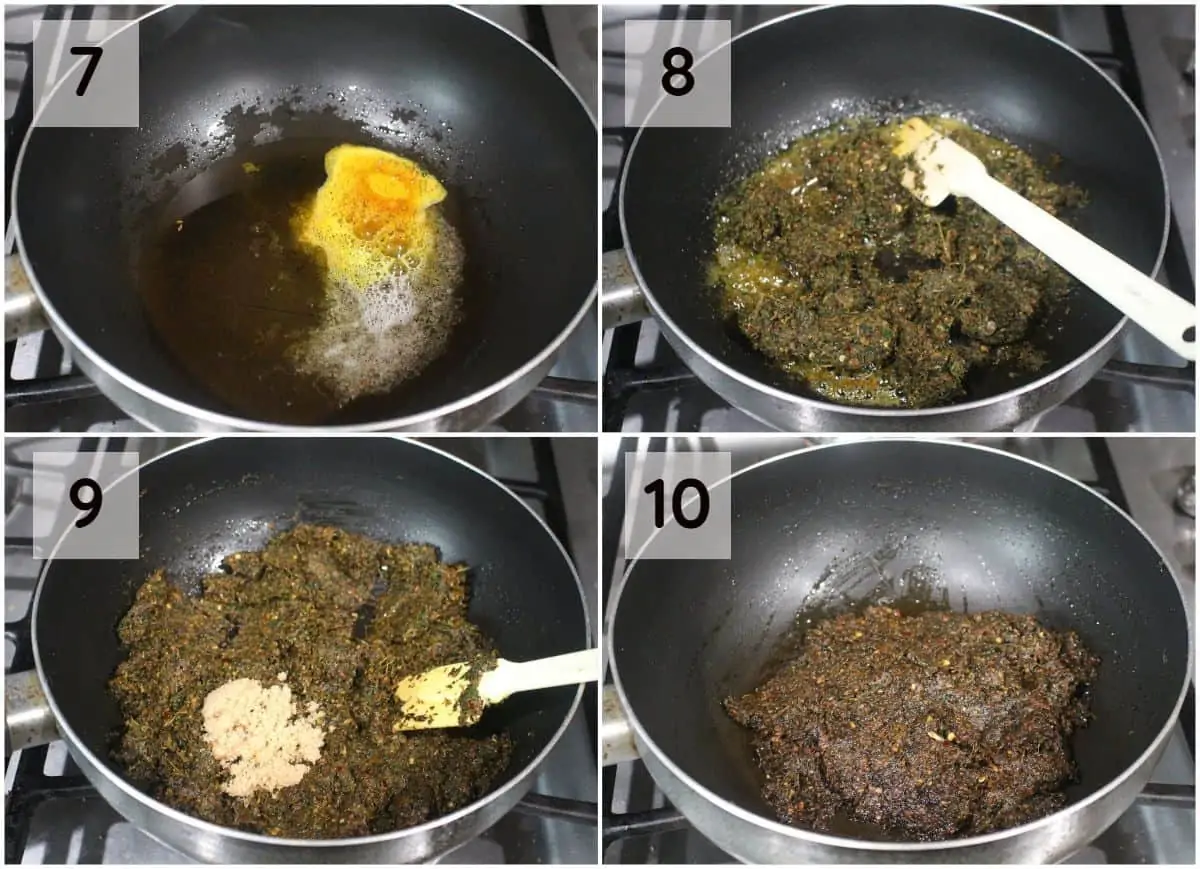
- In the same pan, heat about 4 tablespoon of oil and once the oil heats, add the mustard seeds and turmeric powder (7). When the mustard seeds crackle, add the ground paste and mix well (8).
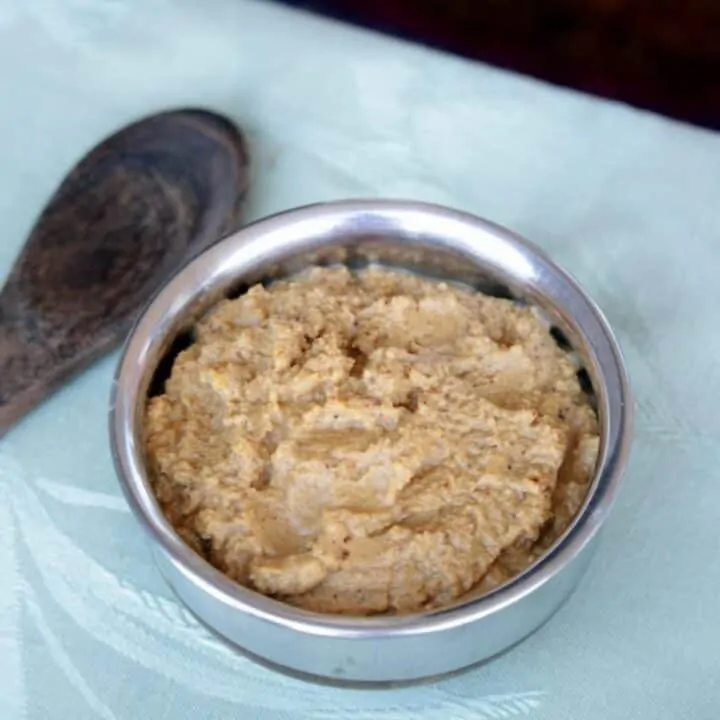
- Cook the mint thokku on low heat. Add the brown sugar/jaggery if using and continue to cook (9). In about 10 minutes or so, the pudina thokku would appear to form a mass and would begin to ooze out the oil (10). Turn off the heat at this stage.
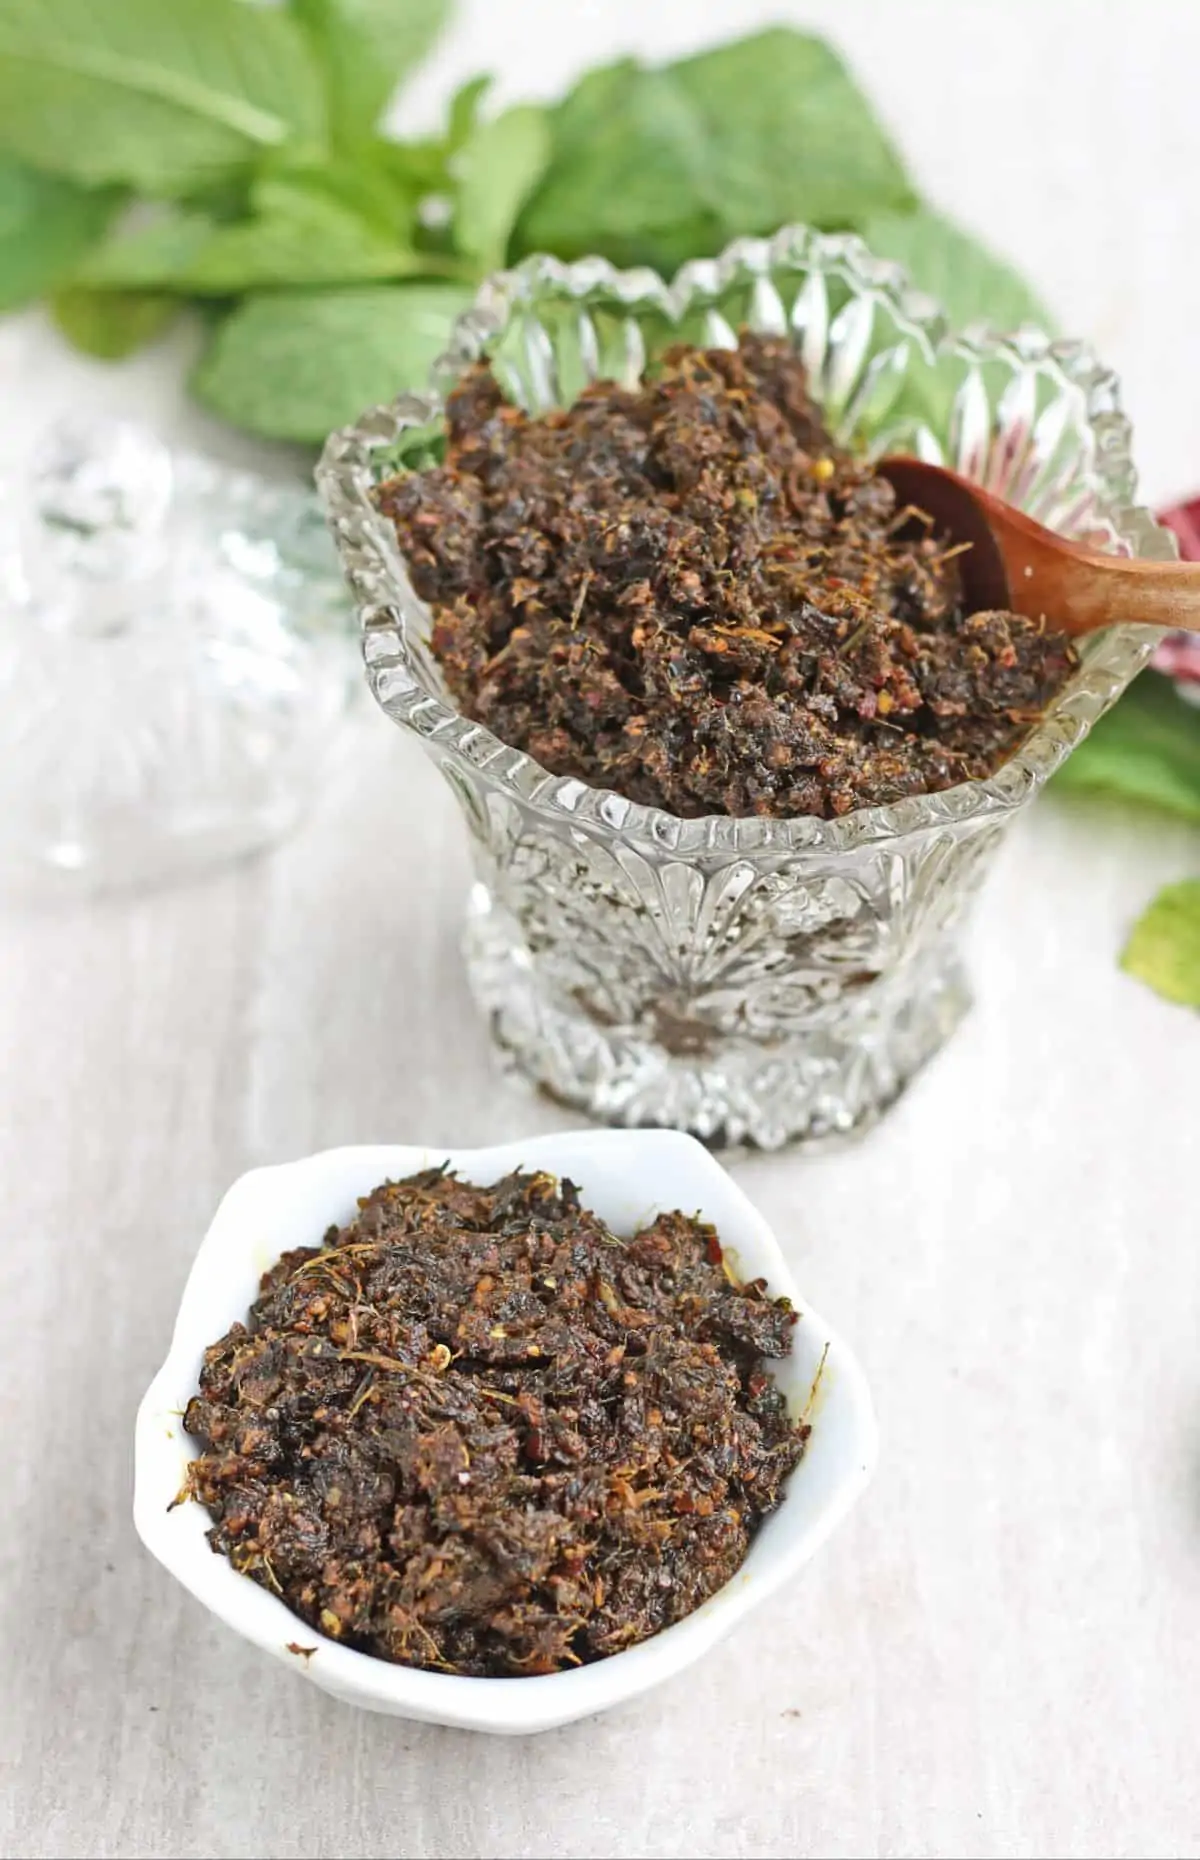
- Store the cooled mint thokku in a clean glass jar and refrigerate for a longer shelf life.
Serving Suggestions
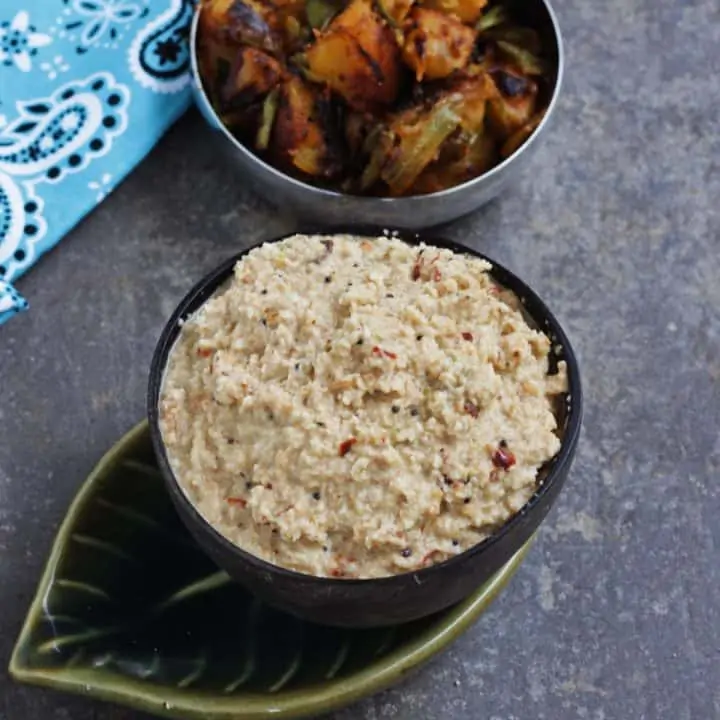
- Pudina thokku tastes amazing with hot rice and a drizzle of sesame oil or ghee.
- I also love it with idli and dosai. I served it with idlis last night and it was wonderful.
- You could also spread a thin layer of the thokku on the paratha and serve it in a lunchbox.
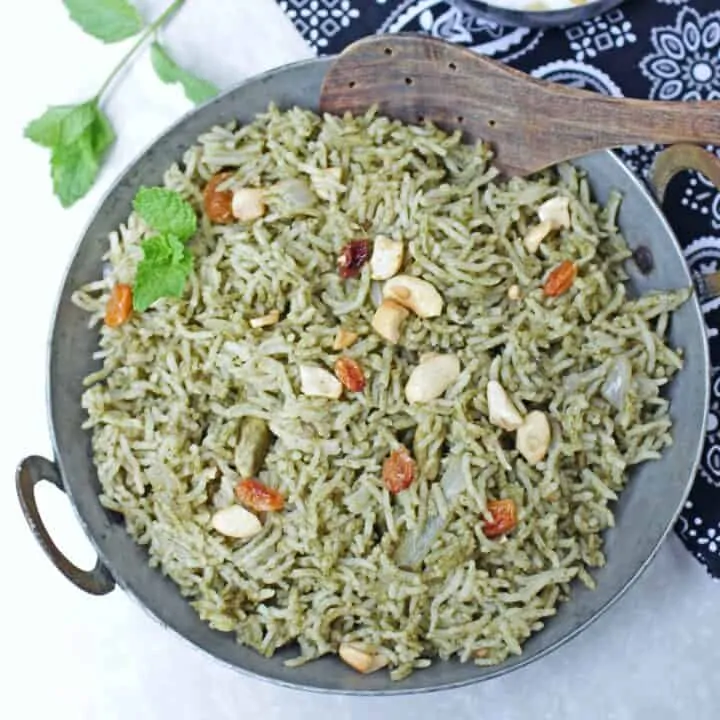
- I also love using this thokku as pulikaachal and making pudina rice with it.
Expert Tips
- Clean the mint leaves well before using them in the recipe. I usually clean my pudina the night before and let it dry completely before making the pickle.
- This recipe yields medium-hot pickle / thogayal. If you like the pickle to be spicier, increase the red chilies.
- Store the pudina thokku in a clean glass bottle and always use a clean and dry spoon to remove the thokku. This increases the shelf life of the pickle.
- Don't reduce the amount of oil, as that also helps in increasing the shelf life of the thokku.
Frequently asked questions
Pudina thokku stays well in the refrigerator for 2 to 3 weeks. Make sure that you keep it moisture-free and use a clean spoon every time you use it.
Pudina thokku is cooked a second time in adequate oil to increase the shelf life. They can be used interchangeably.
We can make this pudina thokku along with cilantro/coriander leaves. We can also use part curry leaves along with mint leaves. We can use a mix of mint, cilantro, and curry leaves as well.
More recipes to use Mint Leaves

If you made this recipe and liked it, give a star rating on the recipe card or let me know in the comments below. You could also share it with me on Instagram using #MyCookingJourney and tagging me @sandhya.ramakrishnan. You could follow me and my recipes on Facebook |Instagram | Pinterest | twitter
Recipe
Pudina Thokku | Mint Thogayal Recipe
Equipment
- Blender
Ingredients
- 4 cups Mint leaves / pudina tightly packed
- 5 tablespoon Oil preferably Indian sesame oil
- 1 ½ teaspoon Coriander seeds
- 1 ½ teaspoon Urad dal /ullutham parupp
- 6 Dry red chilies
- ½ teaspoon Peppercorn
- ½ teaspoon Cumin seeds
- ½ teaspoon Fenugreek seeds / vendhayam
- 3 tablespoon Tamarind lemon sized ball
- 1 teaspoon Mustard seeds
- ½ teaspoon Turmeric powder
- 1 tablespoon Brown sugar / Jaggery (optional)
- to taste Salt
Instructions
- Remove the mint leaves from the stem and keep them aside. Now wash the leaves well to remove any dirt sticking to them. I use my kitchen sink to wash the leaves when I am working with larger quantities. I seal the drain and then fill the sink with water and wash the leaves. Then let the leaves sit in the water to allow the dirt to settle down. After few minutes, carefully remove the leaves without disturbing the dirt.
- Now place the washed leaves in a clean kitchen cloth and let it air dry.
- Heat a teaspoon of oil in a pan and add the urad dal, coriander seeds, fenugreek seeds, pepper corns and cumin. Fry them until it turns aromatic (about 30 seconds).
- Now add the dry red chili and fry for 30 seconds more. Next add the tamarind and stir once and turn off the flame. Let the tamarind soften a bit in the heat.
- Place the cooled fried ingredients in the blender jar and coarsely grind it.
- In the same pan, add ½ teaspoon of oil. Add the washed and dried mint leaves and saute it in low heat for just about a minute until the leaves starts to wilt. Take it off the heat and let it cool down.
- Add the mint leaves to the blender with the ground spices and grind it into a paste adding no water. Add salt when grinding. You can keep the paste slightly coarse like I did or grind it smoothly.
- In the same pan heat about 4 tablespoon of oil and once the oil heats, add the mustard seeds and turmeric powder. When the mustard seeds crackle add the ground paste and mix well.
- Cook the mint thokku on low heat. Add the brown sugar / jaggery if using and continue to cook. In about 10 minutes or so, the pudina thokku would appear to form a mass and would begin to ooze out oil. Turn off the heat at this stage.
- Store the cooled mint thokku in a clean glass jar and refrigerate for longer shelf life.
Notes
- Clean the mint leaves well before using in the recipe. I usually clean my pudina the night before and let it dry completely before making the pickle.
- This recipe yields medium hot pickle / thogayal. If you like the pickle to be more spicy increase the red chilies.
- Store the pudina thokku in a clean glass bottle and always use clean and dry spoon to remove the thokku. This increases the shelf life of the pickle.
- Don't reduce the amount of oil as that also helps in increasing the shelf life of the thokku.
Awesome, lip smacking recipe. Loved it with hot rice.
Awesome! Glad you liked it, akka. Thanks for your feedback 🙂
That is a lip smacking chutney with mint. I am making this chutney today as I asked my little one to trim the mint plant today 🙂
I love any kind of thokku and pudina thokku looks so flavorful. Would love to eat it with rice, idli, or dosa. It is always a blessing to have homegrown herbs and veggies.
That sounds like a flavorful chutney. My SIL makes this but I have never tasted it. I am growing mint this summer and so bookmarking it to try.
This is similar to how we make it too. We love this in our home. This is a delicious condiment.
Just looking at the pics is making me want to have this tokku with rice drizzled with sesame oil. What a lovely way to use up those extra bunches of mint!
I agree. It is a lip smacking pickle.
Pudina thokku is so versatile to go with rice & idli dosa....as a spread for sandwich too, almost anything...I love to make a batch & keep it handy! Your thokku is so flavourful & absolutely lip-smacking!
I also have fresh aromatic pudina growing in my kitchen garden and now I am tempted to make this Mint pickle. Thanks for the lovely share.
I always end up making pudina chutney with mint leaves . Never got to try any other recipe. Thanks to your lovely thokku recipe idea, I am definitely going to try it with the next bunch of my home grown mint leaves.
O Wow! This is the best way to use excess of the mint leaves. A must try recipe. Today only I have exhausted my batch of mint chutney. Tomorrow I'll be making mint chutney and half of the bunch that's always extra, I'm surely going to make this pickle
I too have fascination for growing mint at home. It's such a wonderful recipe using mint. Since summer season is here in this part of the world, mint is in full bloom at my place.
Gonna try this recipe soon Sandhya.
Sometimes my veggie vendor brings a big fat bunch of mint and it gets spoilt so quickly. Now I have your pudina thokku recipe to follow to not only use up the extra mint but also make a lip smacking pickle. I too love using mint wherever possible.
In spring I totally have the mint take over my whole garden. I never thought of the thokku. Surely will make it the next season.
What a fabolous use of mint. I don't have facility of home grown mint, so whenever buy from market, don't understand where to utilise the whole lot. Thanks for giving me a great idea.
My mom's recipe is similar to yours but her recipe is always little bit of this little bit of that. Little of this and little of that always ends up being too much of that and too little of this. Your exact measurements for helpful in creating a delicious mint pachadi. Thanks for sharing.
I am very intrigued about this recipe. Mint is always something that gets spoiled in my fridge due to minimal use, and this is a nice way to use excess one up. And I am sure thogayal goes amazingly well with a rice meal... Very interesting...
This is such a flavorful and delicious mint chutney. I was looking to use up a big bunch of mint I had and made your recipe. It turned out absolutely amazing. Thank you so much for this recipe.